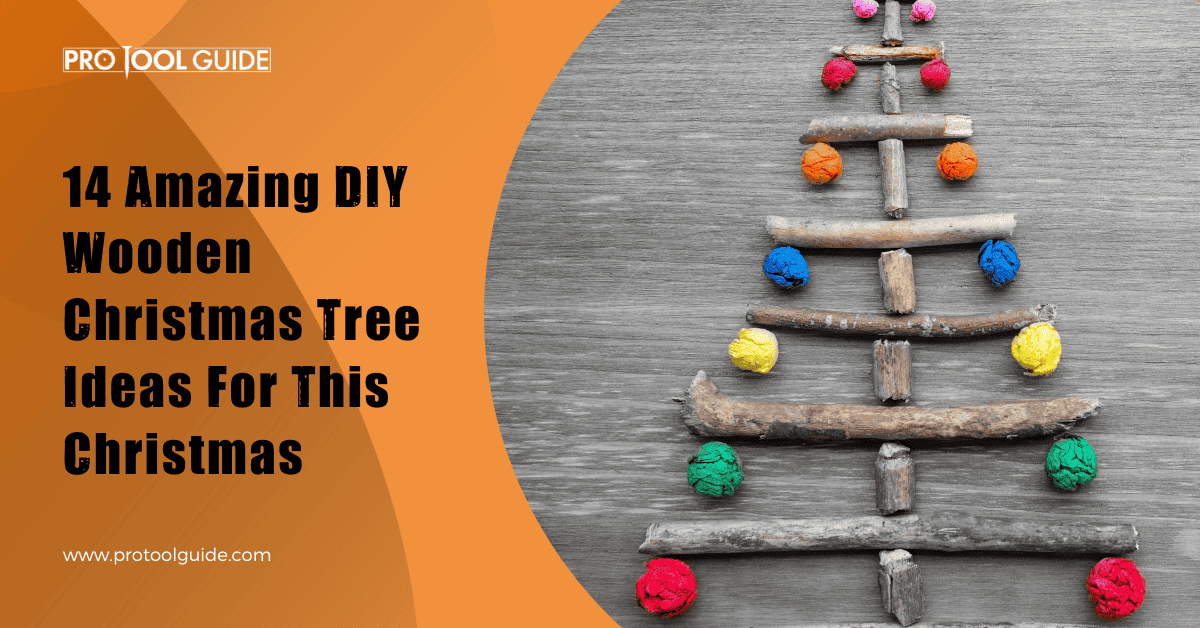
With Christmas around the corner, all attention will shift toward the celebrations. One of the longest-standing Christmas traditions aside from Santa, of course, is Christmas trees. Colorful trees of carrying shapes and sizes adorn streets, buildings, and apartments.
While most people love to get Christmas trees from stores – you’ll find many options. Some DIY lovers prefer to tap into their creativity and explore the option of wooden Christmas trees.
If you’re one of the people looking for something different for this Christmas, a tree made from wood would brighten up your home and draw admiring glances.
Daring to be different comes with challenges since developing ideas for your wooden Christmas trees may be difficult. To make your decision easier, we’ve put together a list of numerous wooden Christmas tree ideas you can utilize to make your dream decoration.
DIY Wooden Christmas Tree Ideas
Christmas feels incomplete without a Christmas tree. But with these trees offering both ornamental and functional values make Christmas much more joyful.
Wooden designs are quickly becoming a thing, with more people noticing their flexibility and strength. Suppose you’re looking for free ideas to stimulate your creativity. In that case, this section will provide you with more than a couple of ideas.
1. Dowel Christmas Tree
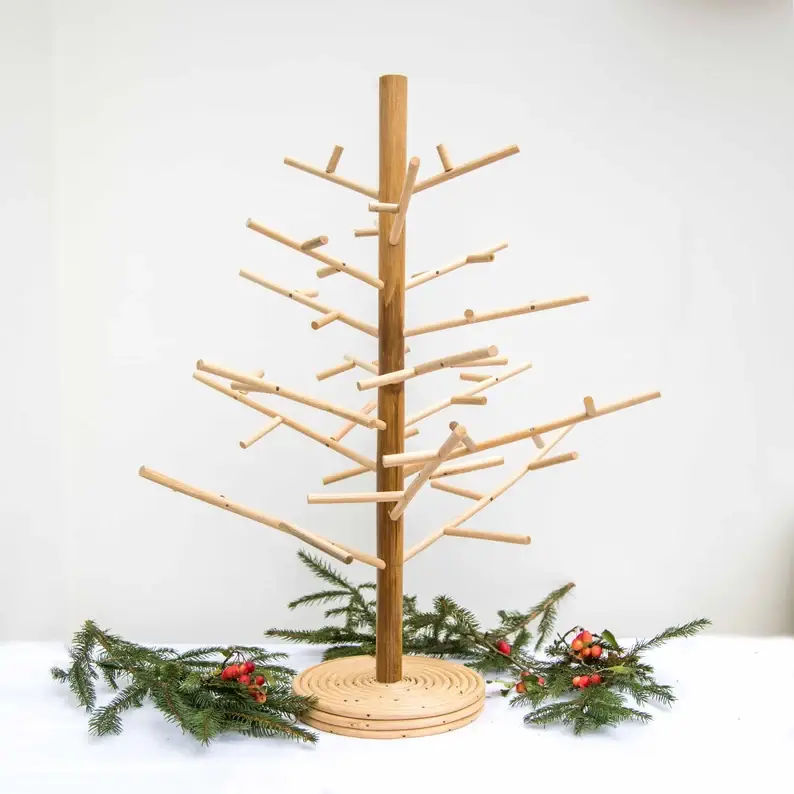
Dowels can act as more than joint fasteners with this Christmas tree design. The dowel pins are held inside large cylindrical wood attached to the largest wood, standing vertically – the idea is to mimic a tree with the design.
A solid base in flat timber creates the necessary stability that ensures the tree does not fall over, even with extra weight.
You can customize this dowel Christmas tree design by painting the dowels, staining the wood, adding lights, or attaching flowers.
The simple look gives you a plain canvas to design to your specifications. This is easy to replicate with little DIY experience required if you can get premade dowels.
2. Wood and Fabric Christmas Tree
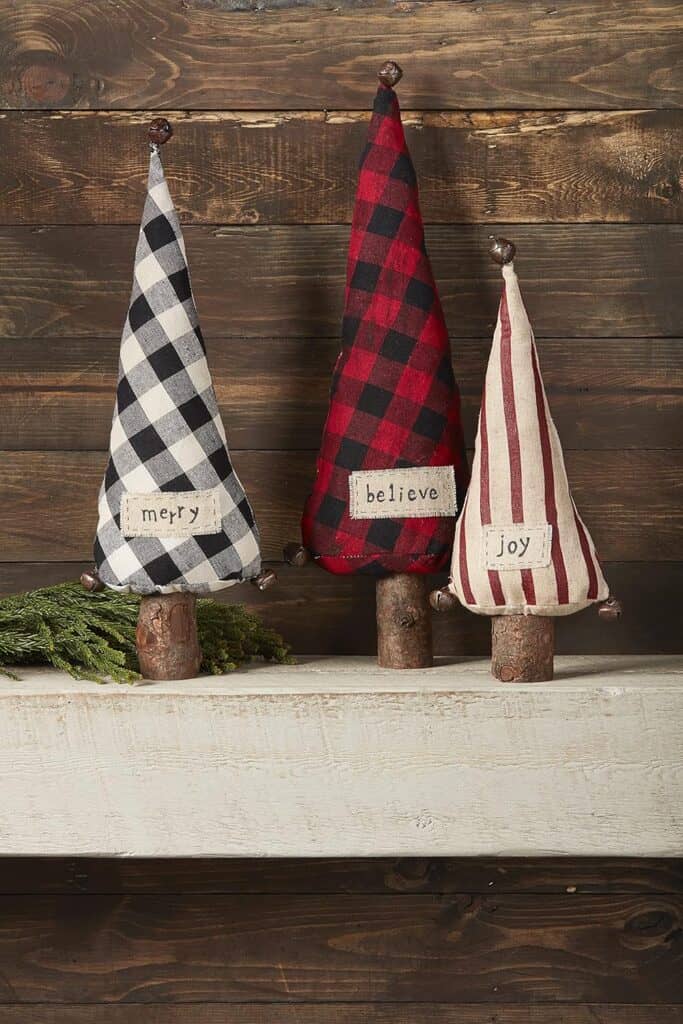
Wood and fabric combination can create an amazing look that embodies the spirit of Christmas. This design has a rectangular wooden board in the shape of a tree with a flat base for support.
A black, ash and white chequered fabric with red buttons at the center is attached to the board. Placing the material at the center, so there is room on the surrounding board, will boost the fabric’s appeal. Add a red ribbon at the fabric’s apex to complete the Christmas look.
With a small board and cutting materials, you can make a rectangular shape and squared base for this design.
The chequered fabric is easy to find in stores, while holding the fabric to the board may require pins. A DIY lover with intermediate experience will handle this project well.
Also Read:- 60 DIY Wood Pallet Projects For Your Home Improvement Needs
3. Layered Christmas Tree
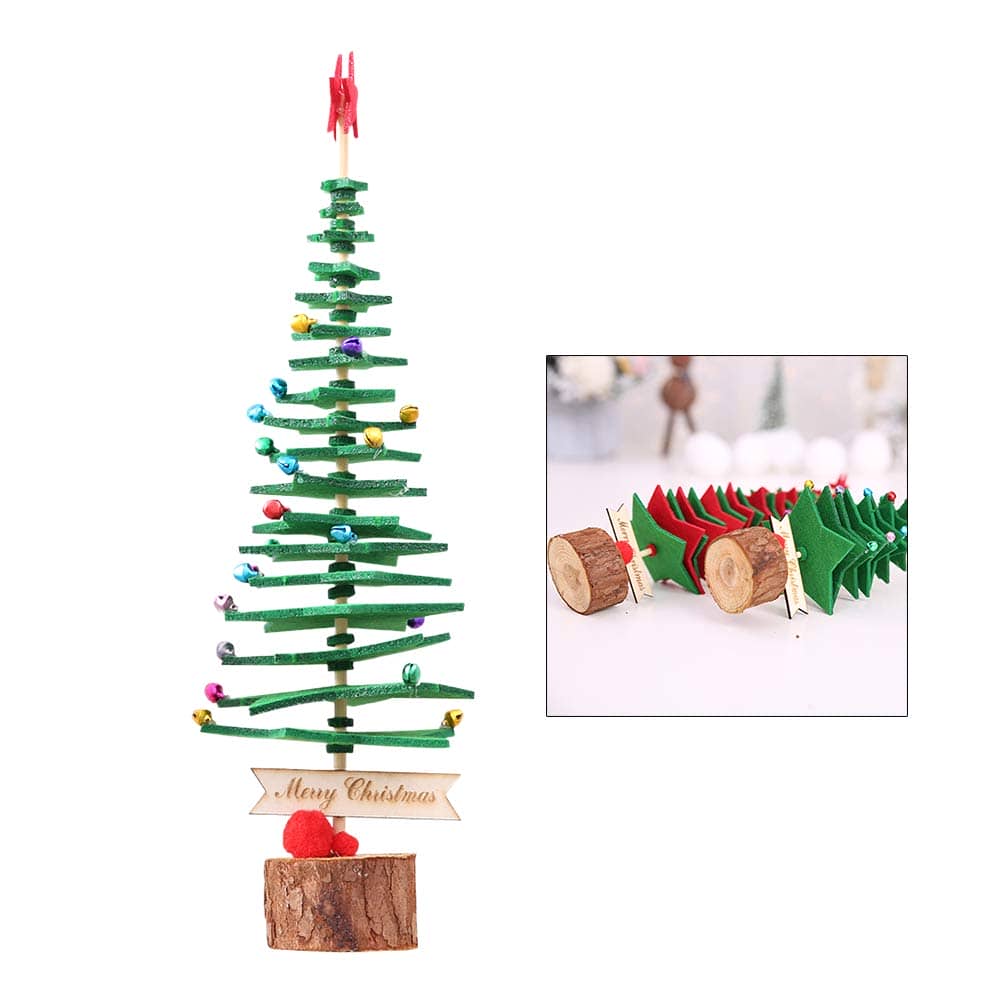
You can make a semblance of a Christmas tree with a large vertical wood and several horizontal pieces cut and layered to mimic a tree. The trick is to have the sizeable vertical centerpiece in natural wooden colors and then cut out a rectangular shape on a board.
Further, cut out several horizontal pieces from the rectangular board. You’ll create a Christmas look by painting the rectangular board green.
Start by nailing the most diminutive piece at the top of the vertical centerpiece and the next smaller piece, a few inches below the smallest, until you’ve nailed each piece. Next, use a large square board to make the base and ensure stability.
4. Foldable Christmas Tree
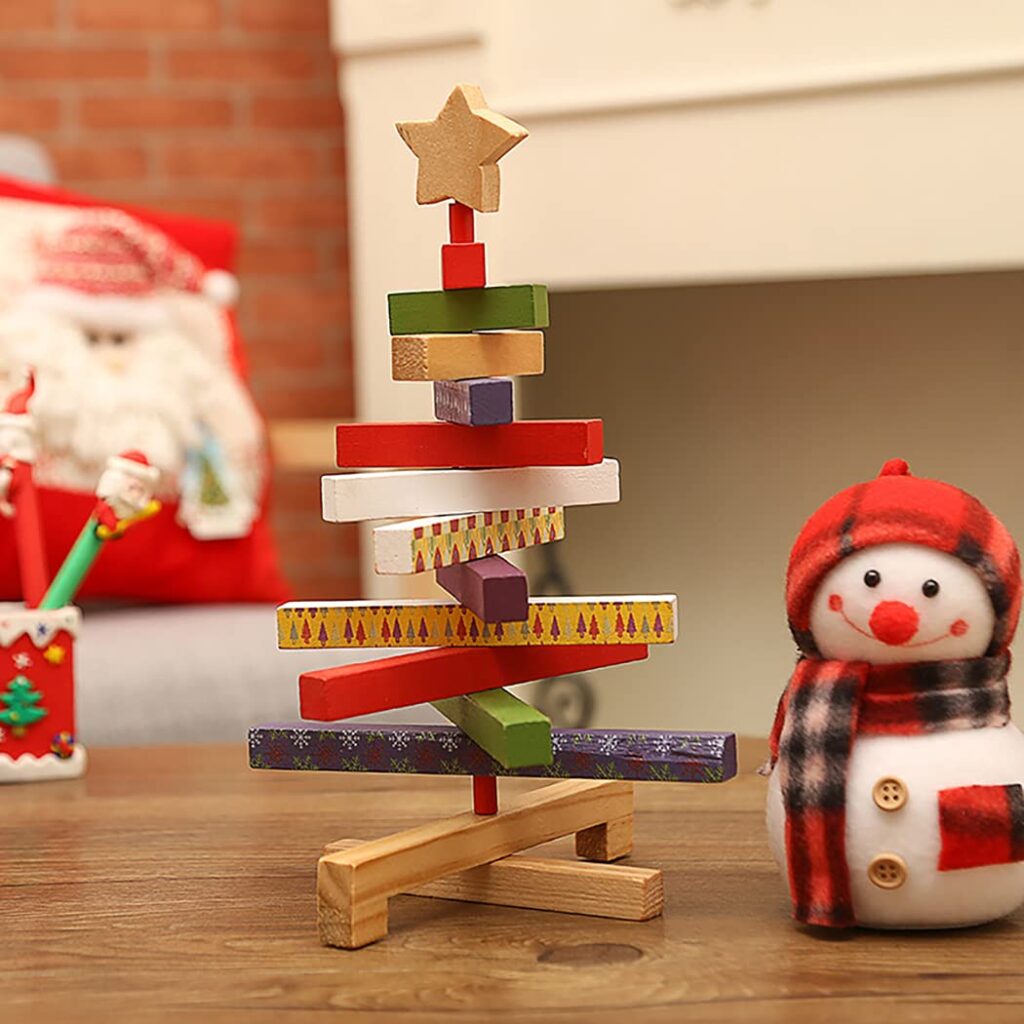
People with small spaces have struggled to find a befitting Christmas tree for their space until now. This foldable wooden Christmas tree design utilizes wood to mimic a tree while being flexible enough to be packed and stored flat when not used.
The design requires wood with an almost whitish look to create a minimalist feel to it. A solid square base supports the tree, ensuring it doesn’t fall off.
Take the wood and make each piece shorter than the next till you’ve cut the smallest. You’ll need a long enough dowel to carry these wooden pieces. The dowel passes through the center of each wooden piece, where you’ll need your drill bit to drill holes through each piece, including the center of the base.
Next, glue the dowel into the base, pass the largest piece and glue it some inches above the base.
Only the first and last wooden pieces passed through the dowel will need to be glued to keep them in line; you can turn the progressive pieces in between any direction, and cylindrical balls and ribbons can be attached to the edges.
5. Wood Slice Christmas Tree
Using several wood slices, you can make an ingenious Christmas tree design that’ll surely turn heads. To fit into the design, the slices must be of different shapes, from the smallest to the largest.
You can make as many slice trees as you like, but two is the ideal. Use the largest slice as the base, and stack each slice on the other from biggest to smallest. Because of the large study slice at the bottom, there’s no need to glue each slice together. Instead, you can dismantle the tree after use for later.
To make it look more natural, add some moss to the wood slices to blend it with the artificial grass under the wooden slice. Add several ornamental pieces to add color to the design and make it more natural.
6. Wooden Spindle Christmas Tree
Old spindles, when appropriately used, can create a fascinating Christmas tree that will get everyone talking. It takes a combination of several spindles of different shapes and sizes; however, it is ideal they follow a progressive length from shortest to longest and share similar width.
This idea is unique and utilizes old spindle materials around your home, so you may not need to spend a dime creating the design.
The idea uses a metallic base with a metal rod at the center. Use a drill bit to drill a hole the size of the rod through the center of each spindle, passing each spindle through and gluing them.
The first spindle through the metal rod should be glued some inches above the base to keep the rest from the base. Placing some greens under the spindle tree adds color to the otherwise rustic look.
Also Read: 14 Free DIY Fireplace Mantel Plans & Ideas
7. Christmas Tree Shelves
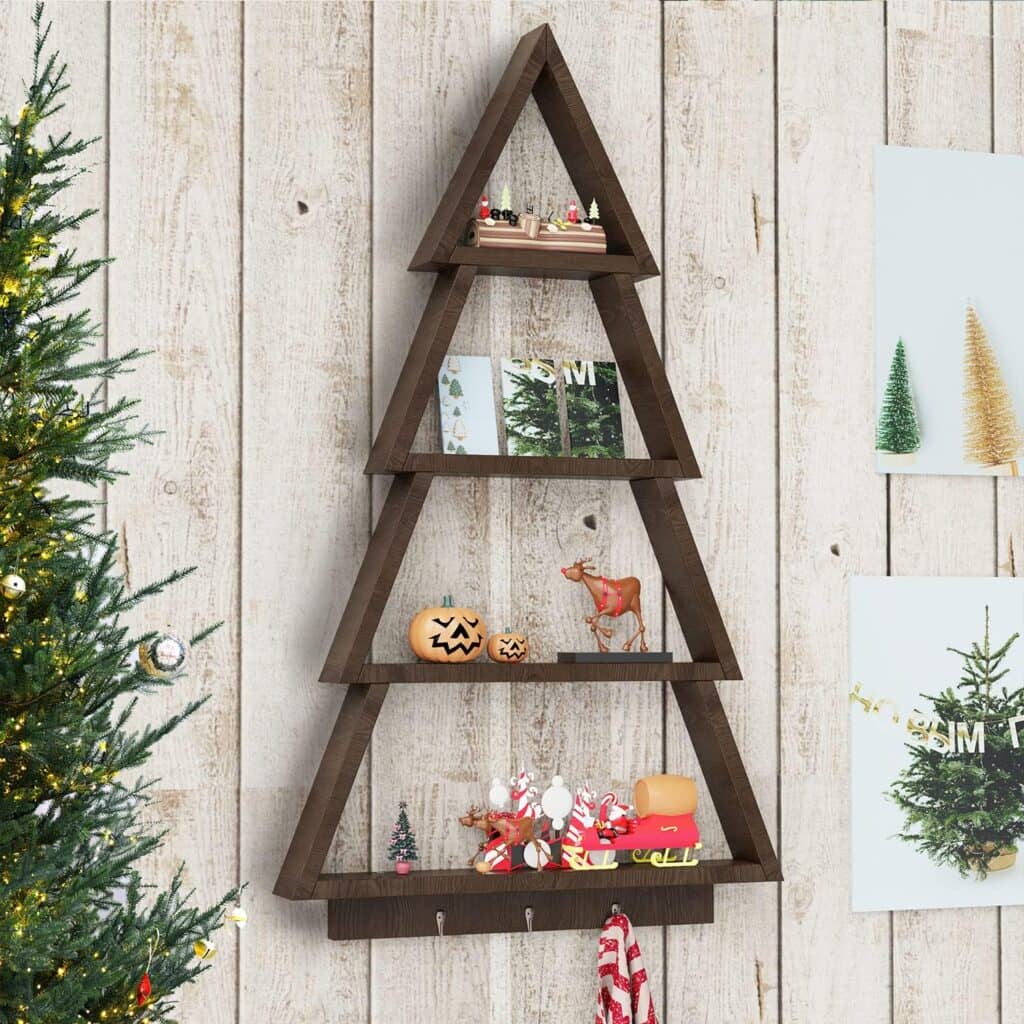
If you’re looking for shelves to make this Christmas, how about this tree design with several shelf layers and hooks before for flowers?
The layers feature a wider base than the top of the following layer, which creates the shape of a Christmas tree.
Sampling Christmas gift boxes on the shelves will boost the color and appeal of the idea. The hooks under the shelf can carry bags or even Christmas flowers.
An intermediate skill level is required to complete the design. The project will typically take over 5 hours to complete.
8. Sticks Christmas Tree
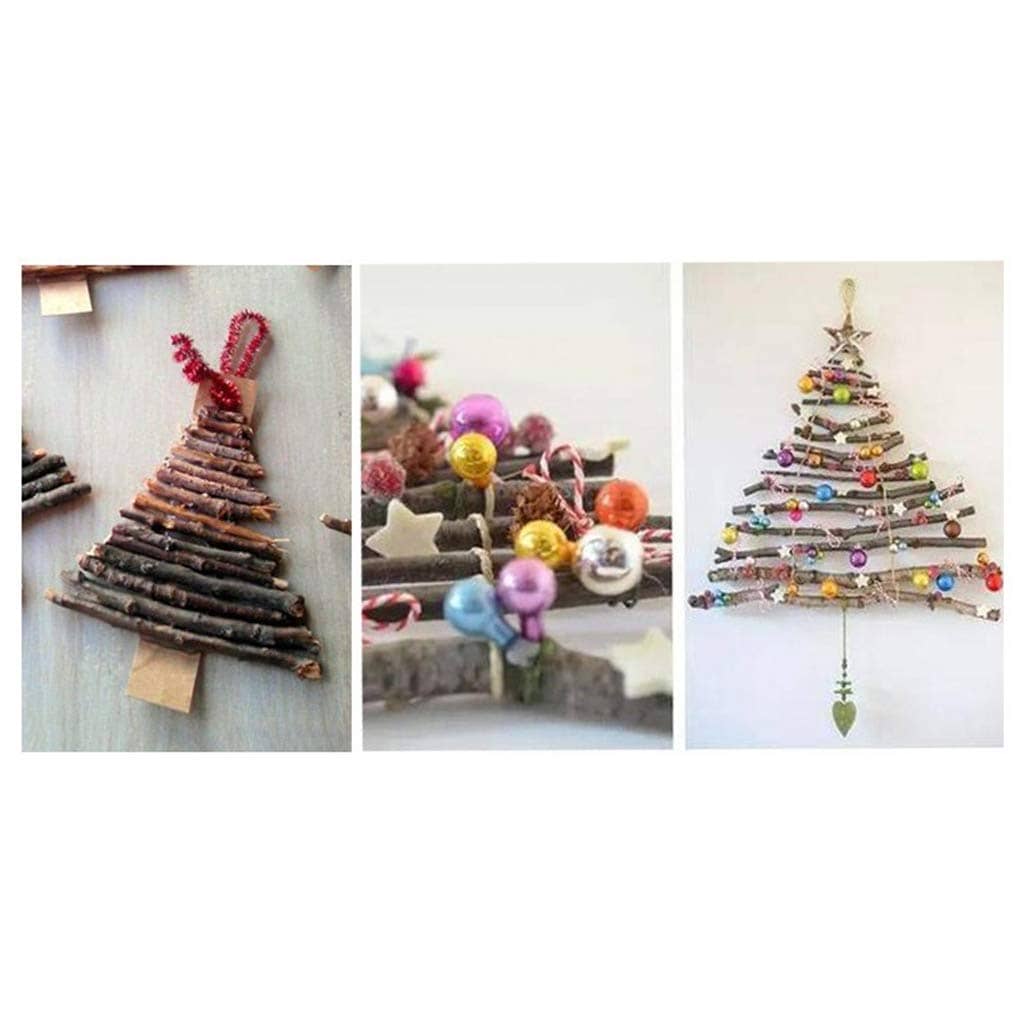
If you’re looking for a space-efficient Christmas tree, you’ll hardly do better than this stick Christmas tree that is flat and hung on the wall.
The design uses dried sticks cut to add sizes from the smallest to the largest. You can join the woods at the ends using a sisal rope.
The two sisal rope ends from either side of the stack of sticks would form the attachment to hang the tree on the wall.
Next, place a star ornament hanging at the top of the wood stack to make the tree pop, and then finally, pass the light in front of the sticks to complete your design.
9. Large Plywood Christmas Tree
A large plywood board can be the platform you need to create a simple yet beautiful Christmas tree this season. This design does not require any cutting, only painting.
The plywood board is left as it is but the shape of a Christmas tree is painted on it, with the background having a beautiful shade to make the tree pop. A simple rectangular tree and a short stem painted yellow with white stripes are enough to get this idea going.
Since no cutting is involved in the design, you’ll only need painting experience to replicate this idea. A light strip over the board will further brighten the tree on the board.
Place a soft rug by the side with Christmas gift boxes around it to make the look even better.
10. Stacked Wooden Blocks Christmas Tree

Wood blocks can make the ideal Christmas tree design if done right. The blocks consist of large wooden pieces with equal sides.
Cut the blocks to the appropriate sizes and sand them before painting with acrylic or chalk paint to get a charming white look. You’re creating a descriptive Christmas tree design by making beautiful inscriptions on each box with gold color and using varying writing patterns.
You can customize the inscription to a more personal message to loved ones, as Christmas is about sharing love. Typically, the lettering is applied on the block, so you do not need to be an experienced calligrapher to make this design.
11. 3D Outdoor Christmas Tree
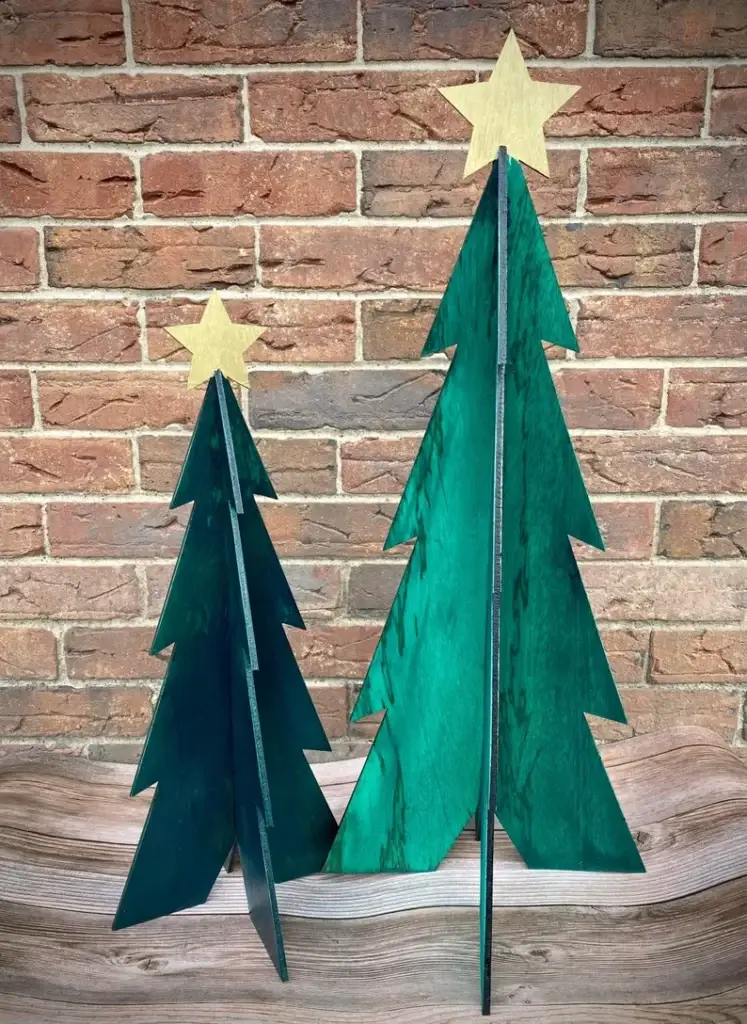
Plywoods are the most used material for making wooden Christmas trees, and you’ll see why this 3D model is perfect for outdoor use.
For this design, a simple replica is constructed on a plain sheet and marked on the plywood before cutting it with the desired saw. Next, cut out two similar flat tree designs, which center cuts to help with attachment.
Mix green paint in a bowl and paint using a paintbrush. Paint only a single layer to get a faint green color rather than an intense green. To make a 3D model, join the two flat trees using the center cuts in each piece.
You’ll get a sturdy 3D model after attaching the two flat trees. You can add decorations like flowers, lights, or cylindrical ornamental balls to the design.
12. Rustic Christmas Card Display
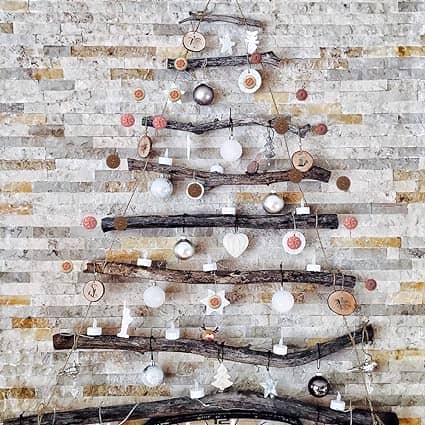
As Christmas gets closers, the cards start to pile up, and we begin to wonder what to do with the increasing number of cards filled with loving messages.
Think of a Christmas tree to display the cards as they come. The tree is simple and uses old rustic tree branches tied horizontally to a larger vertical tree branch.
You can display the cards anywhere along the Christmas tree branches. Add a few silver balls to the base of the design to add a special Christmas effect.
When you pass light through the vertical tree from top to bottom, you’ll notice the tree come alive, and the cards feel essential viewing them from that scene.
13. Rustic Christmas Tree Bird Feeder

Birds are not left out in love during Christmas, with this tree bird feeder highlighting the love. First, build a rectangular-shaped structure using tobacco sticks.
Using screws to attach the tobacco sticks used to form layers will ensure it is sturdy enough to carry weight and hold the structure together.
Green is a special Christmas color and painting this tobacco design in one of the traditional Christmas colors immediately sets the tone.
You’ll need to make birdseed ornaments of varying shapes and sizes and allow them to set overnight. Then, tie the birdseed ornaments to the horizontal wooden layers of the structure and place the tree in a location where it is easily accessible to birds.
14. Upcycled DIY Christmas Tree
Do you know you can make a Christmas tree with old wood and upcycled knobs like ornaments?
Old wood is cut into a rectangular shape and further into horizontal planes. The knobs come in varying colors and make the tree enchanting, especially when placed on a plain wall where it can quickly draw all the attention.
Gather knobs, door handles, crests, and anything you can find that’ll fit on the Christmas tree. You can use their colors and designs to beautify the tree by placing them strategically on the wood.
The tree can be hung on a wall and wouldn’t need a stand or utilize a stand and placed close to a wall for support since it is a flat Christmas tree design.
Final Thoughts
Christmas trees are age-long traditions that are not going away anytime soon. Using a befitting tree for the occasional hold more than sentimental value as people use the period to enjoy family time to grow bonds.
These DIY Christmas tree ideas can involve the whole family, so the bond grows. In addition, making Christmas trees from wood is efficient and often more durable than the traditional Christmas trees that may damage before the season is over.

