If you get a new table saw, you’ll see a piece of metal or wooden bar that feels worthless inside. You may even be tempted not to install it on the table; after all, what could go wrong? However, this seemingly unimportant piece of metal dictates the precision of your cuts and even your safety.
This metal bar is called a rip fence and is situated at the top of the table parallel to the blade. All types of the saw with a table, including cabinet table saws and band saws, will need rip fences. While old-time woodworkers understand how valuable this component is, people new to woodworking may struggle to see its usefulness initially.
This is why you have a guide like this that can properly describe rip fences, how to set them and how to use them to get the best results.
What is a Rip Fence?

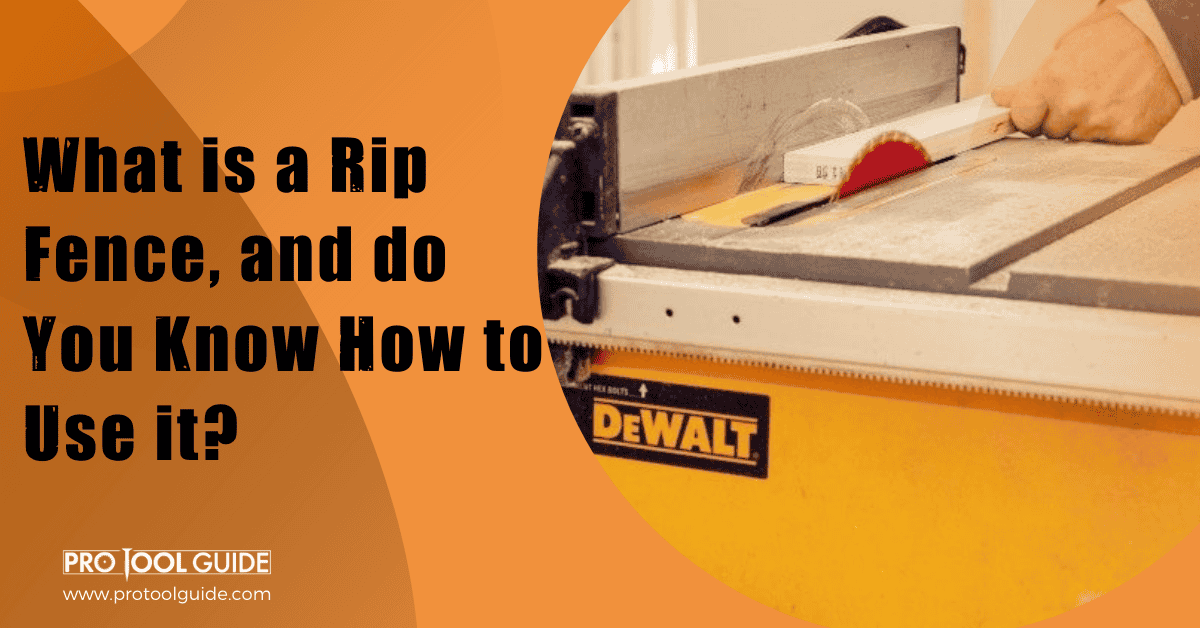
A rip fence is a table saw accessory that runs from front to back of the table parallel to the cutting plane. It is usually placed to the right of the blade and can be metallic or wooden. Generally, it is made from solid material and affixed firmly to the table.
It acts as a guide as you cut your wood. It is called a rip fence because it guides you while making a rip cut which is a cut along the grain. Depending on the cutting width, you can adjust the rip fence so it laps to the wood perfectly to create precise cuts throughout the wood.
There is a distance marker in front so you can adjust accordingly and lock in using the locking mechanism that keeps the fence in place. Rip fences do more than just guide as it also protects the user and keeps the working space organized.
How to Set Your Rip Fence?
To cut effectively and utilize the extra level of security and precision the rip fence provides, you need to align the fence properly. This is where a lot of people, even experienced woodworkers, struggle. How do you align this table component the right way?
The alignment is in line with your table saw blade and the chosen cutting width. To avoid kickbacks and bad cuts, you need to get this right. Remember, the rip fence is aligned based on the blade, so the first thing to do is to align the saw blade to the miter track and then follow the procedure below to align the fence.
1. Mount/Insert the Rip Fence
Depending on the type of saw, mounting the rip fence may vary slightly. Hand saws typically use wooden fences, which are inserted into the column designated for them. You’ll find it at the front of the saw towards the side. For table saws, they make use of metal fences that are mounted on top of the table towards the right of the saw. It runs across from the front of the table to the back.
2. Align Accordingly
After mounting or inserting the fence, it needs to be aligned to fit the width of your cut. To do this on drive saws, simply follow the distance markers on the longer end and pull or push the fence in place. For table saws, however, it gets a little trickier as there are no measurements on them and so you’ll have to do this manually. Measure the distance of the wood, mark the measurement on the table and then adjust the fence accordingly.
3. Secure the Fence
No matter the type of saw you have, this process is the same for all and involves screwing the fence into the table or foot of the saw, depending on the type of saw. Securing this tightly will ensure the fence does not move out of place when in use and affect your accuracy. If you want to readjust the measurements, you’ll have to unscrew, move the fence and then screw again.
How to Use a Rip Fence?

After securing your aligned fence, you can now try out your rip cutting, but how do you use this fence to great effect?
1. Place the Board Against the Fence
You want to have a clean and smooth side of the board firmly against the fence at all times. This will ensure accuracy and ease while cutting.
2. Place a Push Board or Push Stick on the Board
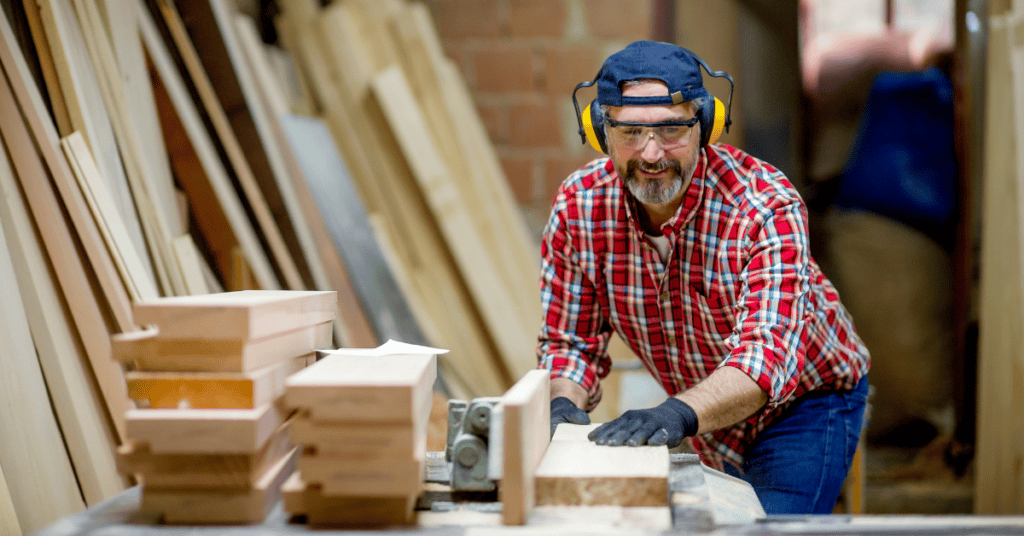
A push board helps to keep your fingers away from the blade. Even though modern saws have various safety measures that prevent accidental finger cuts, they can still be quite dangerous. This is why you want to place a Push block on the wood and over the blade. Not only will this keep the board down, but it will also serve as a barricade between your fingers and the sharp saw blade.
3. Cut by Push the Board Across
Carefully slide the board across the table for a table saw or over the blade for drive saws. Ensure to focus on the fence while cutting. This may be difficult at first as you’ll find yourself looking at the blade, but with constant practice, it’ll become second nature. Keeping your eyes fixed on the fence will ensure you keep the board touching the fence at all times. This will guarantee an accurate cut.
Tips for Using Rip Fence

Here are important tips you should follow while using a rip fence.
1. Do not Use the Fence for Crosscutting
There’s a reason it’s called a rip fence and not a crosscutting fence, and this is because it should be used for rip cutting alone. It is tempting to use it when crosscutting, but this can be dangerous as it forces the part of the wood stuck between the fence and the blade to move at high speed in the direction of the blade. This can be quite dangerous to anybody in its way.
2. What Side of the Blade Should the Blade be?
Right, left, it doesn’t matter. What matters is your comfort. So place the fence at the side of your dominant hand so you can work on the piece stress-free. Generally, you’ll see more right-sided rip fences, and this is because it seems there are more right-handed people. So place the fence at the side so you’ll feel more comfortable holding the board.
3. Should the Fence be Parallel to the Blade?
While some quarters may argue that you should align the fence with toeing away from the blade by 1/64 fence to remove potential kickbacks. However, that is a bad idea as it reduces the accuracy of your cut and forces you to be in a constant battle to keep the board on the fence. You can reduce the potential for kickbacks by placing a riving knife to ensure the kerf remains open.
4. Use Feather Boards for Straight Cuts
A feather board is a material that holds the blade firmly with its grip facing away from the user. This way, it not only creates clean cuts by making it easy to move forward, but it also prevents kickbacks as it is difficult to move backward.
Summary
Rip fences are essential components in saws that ensure clean and accurate cuts and keeps the cutting area clean and safe for the user. Knowing how to properly use the rip fence will ensure you enjoy the fence.

