

If you love to have friends around, poker games should be among the games to play in an all-packed eventful hangout. The poker table is the primary setup, which can come in various sizes, shapes, and designs, depending on your needs. Some popular poker table shapes are hexagonal, octagonal, circular, and oval.
Rather than use your coffee table to play card games, you can build a DIY poker table to enjoy specialized armrests around the table with a distinct playing surface. Building the table will allow you to experiment and develop a fitting design for your space.
Are you wondering how to get this poker table done with limited knowledge? You’re not alone; many DIY enthusiasts need guidance to complete a new project. It’s why we’ve compiled several free DIY poker table ideas and plans.
Materials And Tools Required
Identifying and gathering the tools and materials is among the first steps for any project. We’ll include a general material and tool list that will vary slightly depending on the poker table design you will build.
Materials
- Plywood or Medium-density Fiberboard: It can be ½ or ¾” thick
- Felt Fabric: A smooth felt fabric about 4 ft wider than the table to cover the playing surface
- Foam Padding: Choose high-density foam padding of about ½ to 1″ thickness to cushion the playing surface
- Lumber: The lumber will make the table surface, the legs, and the rail, and so varies in size and quantity
- Leather Fabric or Vinyl: For covering the rails to provide comfortable armrests around the table
- Wood Glue, Nails, and Screws: For the assembling process, you will need some or all of these materials
- Staples: They help secure materials like leather or felt fabric
- Spray Adhesive: This is an adhesive type used to hold foam padding to the table surface
- Paint/Stain: To give the table an attractive look
Tools
- Measuring and marking tools like pencil, tape, and ruler
- Cutting tools like the circular saw, jigsaw, and table saw to cut the wood
- Staple gun to fix the staple
- Staple remover to remove pins when there is a mistake
- Clamps of different sizes to hold the table together while securing it with wood glue and or nails
- Paintbrush to apply paint
- Drill and screwdriver to fix nails and screws into the wood
- Sandpaper for smoothing rough surfaces
DIY Poker Table Plans
We have mentioned different poker table ideas in this section that vary in design, size, and shape.
With various free poker table plans, this section will provide a more accurate idea of the tools you would need.
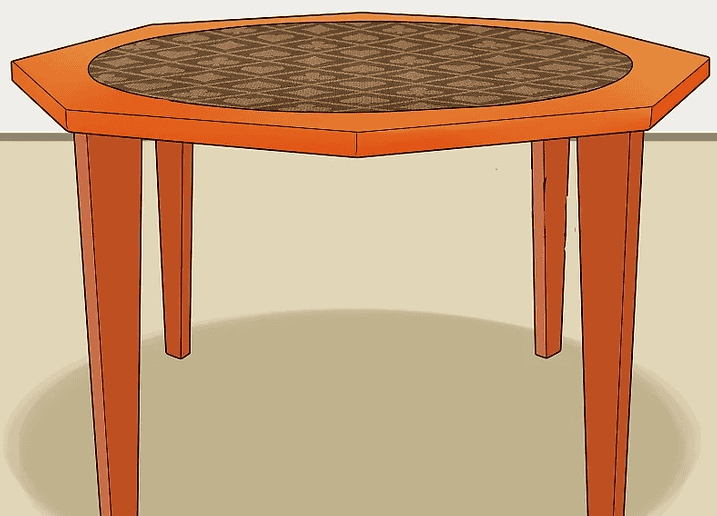
1. Poker Table With Hidden Drink Compartments
Octagonally shaped poker tables are regular sights, especially as the shape makes it easy for numerous players to sit around the table. This poker table has eight sides with a solid support base to prevent accidental tipping over.
It gets more interesting with this design as it features hidden drink compartments in each corner. These drink chambers can be pulled out to reveal two holders where you can place drinks and snacks while playing. The additional feature makes for an exciting build but may require more effort to get the corner drawers right.
It has a dark brown and white combination with its legs painted white, while the table is dark brown and has a white center. The plan features a basic poker table design with a user proceeding to make additions like the attractive tabletop and hidden drink holder. Pictures of the modified table can be found here, and you can get the complete initial plan by following the below link.
2. 4’x6′ Poker Table With CAD Blueprints
This 4’x6′ poker table design represents one of the most comprehensive plans you’ll find on this list, with a video guide, written guide with pictures of each step, and CAD blueprints of the complete project for more technical builders.
The plan also shows the complete tool and material list, estimated building time, and cost. Cutting the curved ends of this oval-shaped table may be challenging at first, so slowly tracing the line is the ideal way. You can correct errors using belt sanders, while other minor imperfections are covered using felt and foam.
A combination of screws and glue is used to hold the parts; however, care is taken to avoid putting screws in the cup holder areas. The size and number of cup holders this table has shoes that accommodate up to eight players for your poker games.
3. Simple Octagon Poker Table
Poker table designs can be simple and effective with this idea showing how to build a straightforward design with the essential functions alone. It is faster to make this table and takes considerably less experience. The project is in four parts, each involving various steps from cutting the board to finishing.
Take a 4 by 4 feet plywood, measure using the dimensions provided in the guide, and mark and cut out in parts using your circular saw. This process will reveal an exterior octagonal table. To add foam, you’ll need to spray the entire front face with adhesives and hand-press the foam to the surface.
Trim pieces around the edges and felt clothes help with finishing while hiding any imperfections it may have. Poker tables usually involve several layers of plywood, so you’ll need to cut out another octagonal sheet to add.
4. Portable Poker Table Topper
The idea for this poker table is to have a portable top that you can place on a dining table when in use and easily store away when not in use. It is perfect for people with a dedicated game room and who prefer to keep it without using too much space.
It involves a detailed 18-step building and finishing process and an extra step for inspecting the project. Since it doesn’t require legs, you’ll need less material and can finish quickly. Its portability is from its three-piece design, with a rail, a racetrack, and a removable playing surface. All these make it easier to move and store.
The table topper involves three plywood sheets: the rail, which is of a lower grade and is converted with vinyl, the racetrack, and the thin base. The design requires the correct vinyl, racetrack veneer, and playing cloth. You’ll also need to shop for upholstery like cups and felt, which can be customized to your taste depending on where you buy.
It would help if you were patient while making the cup holder cuts, as getting the correct cut positions can be challenging. The finishing touches start by upholstering the rail and the insert, then finishing the racetrack with stain.
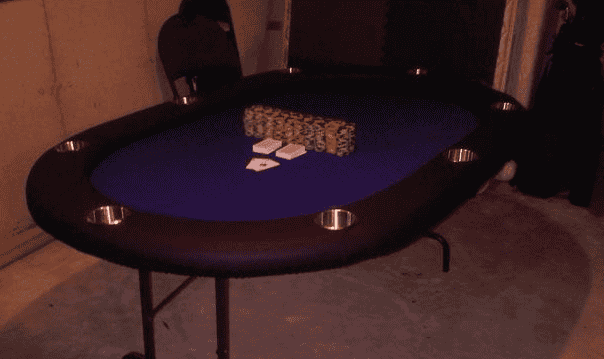
5. 48″x96″ Poker Table
The design utilizes pine for the legs and frame as they are excellent when painted; however, if you prefer staining, you can consider other wood types. Foldable legs are also available to save time and cost and provide a compact table.
Plywood or MDF boards and select pine boards are the primary materials for this 48″x96″ poker table. The first plywood sheet produced the rail and tabletop. Mark a spot 24″ inches from the end and 24″ from the side which will serve as the radius for the semi-circle.
The jigsaw is the perfect tool for cutting the curves while assembling the rail pieces with glue and screw. Follow the guide to cut the two other plywood sheets for the poker table. The full guide is 15-step information complete with detailed help.
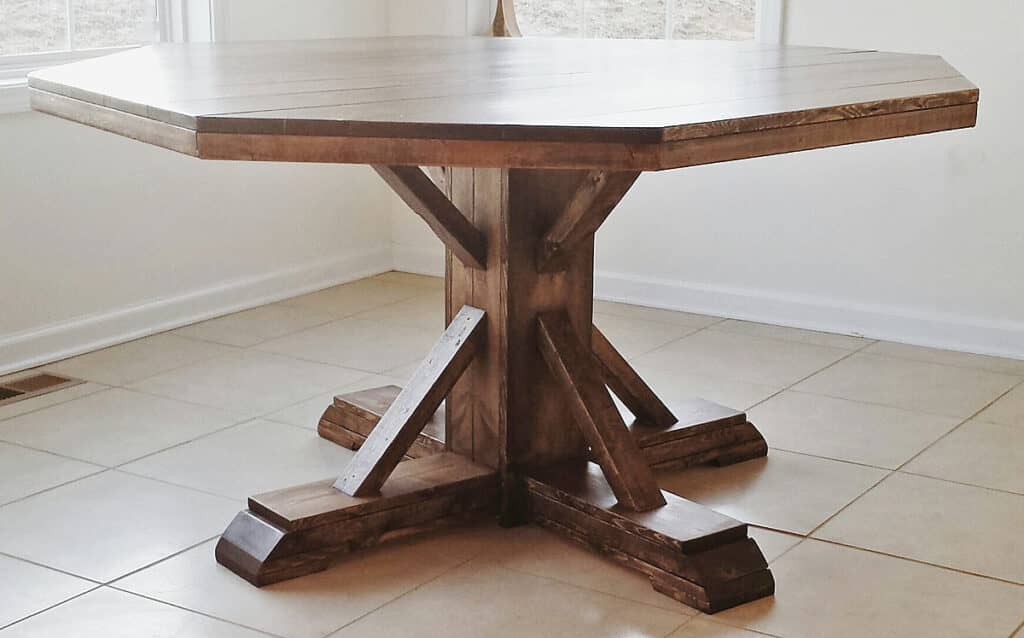
6. Hexagonal Poker Table
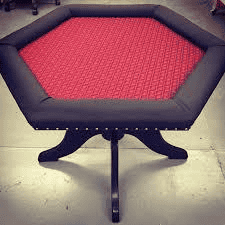
Building from the base makes the table topper easy to assemble. The bottom can be the classy 12-sided cherry pedestal, simple square pedestal, or folding legs. Your style will determine the level of expertise required to complete the base.
Follow this guide which uses a written description of the construction process. The DIY guide is less detailed than other plans and may require prior experience to replicate the design. You’ll also find a list of materials and tools to purchase inside this guide.
Using quality materials with impressive designs will make for an attractive poker table. The felt color and padding cloth will determine the level of attractiveness you can get. This idea can be modified into a giant poker table or a portable playing surface for a few players.
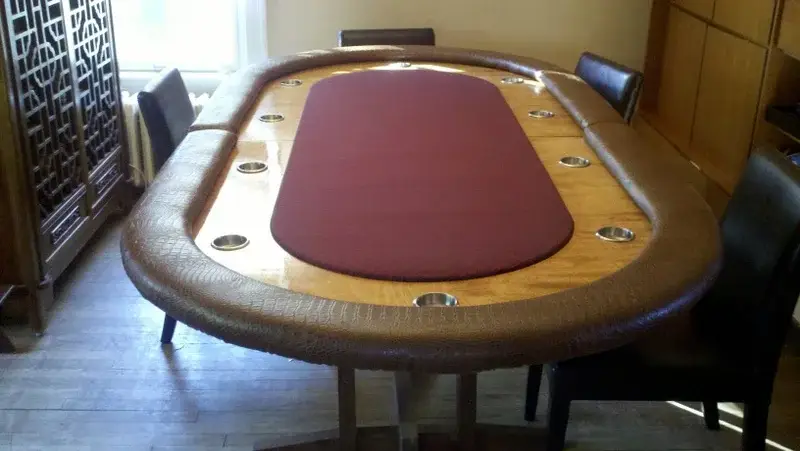
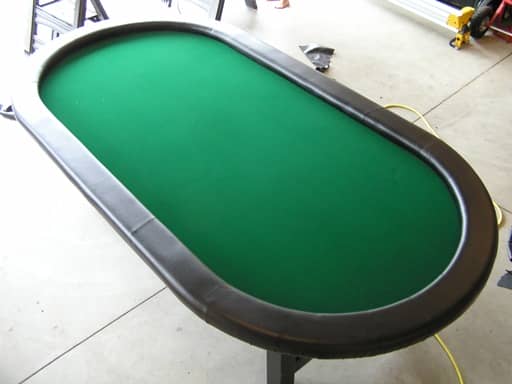
7. Oval Poker Table With MDF Board
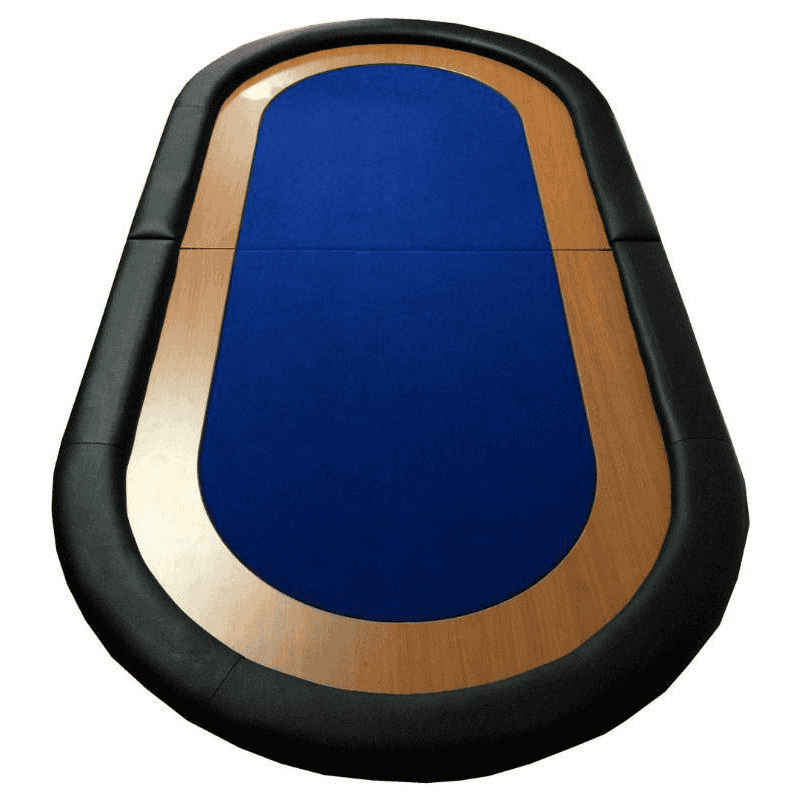
To make this oval poker table, you’ll need a 12mm MDF board, 12mm plywood, a packet of wood screws, PVA wood glue, a packet of staples, spray adhesive, and stain—other supplies like white vinyl fabric, blue felt, and foam.
Cutting the board will require careful markings on the MDF and plywood with the markings on the side with the inscription. Trace the line and cut the oval shape off the boards with a jig saw. You’ll also need to cut two oval pieces to serve as the beer rail. Beer rails should be stained with a dark hue to hide liquid stains from drinks.
Cover the playing surface with EVA foam held with adhesive sprayed on the board. Lay the felt on the work table and turn over the playing surface on the felt so you can staple it to the back of the board.
FAQ’s
Reading DIY poker table plans and building these tables can prove challenging, especially for DIYers with little experience. So here’s a popular question section with answers.
Ans: Plywood or medium-density fiberboard (MDF) and select pine wood are popular poker table wood. However, you can utilize other wood types with fine grain and excellent durability.
Ans: The number of players that can sit on a poker table depends on the size and shape of the table. The typical oval table can seat nine players, while the round table accommodates 6 to 8 players depending on size.
Ans: The amount of room a poker table needs for comfortable gaming depends on the size of the table and the number of players. For a 42″ poker table, you need to place it in an area of at least 8 square feet.
Conclusion
Building a poker table requires careful cutting, as the table often comes with several sides or curves. Tools like the jig saw and circular saw are essential for this project. With several designs available, you can get free ideas for your next poker table.