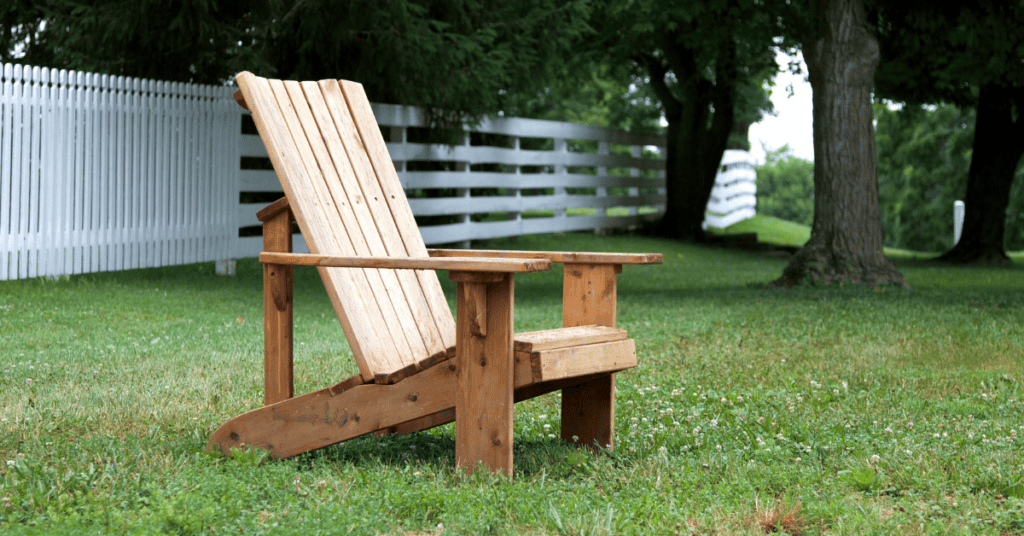
Chairs come in different shapes and sizes as well as uses. Some are more suited outdoors, some indoors, while a few will thrive both outdoors and indoors. One of such chairs is the Kentucky stick chair.
To make a Kentucky stick chair, you have to join stick pieces in a way that the chair is foldable. The foldable feature of the chair makes it easy to store and move.
If you’re looking for a comfortable chair that will not look out of place inside your home and is perfect for outdoor settings, the Kentucky stick chair should be at the top of your mind. It gets even better for people who love DIY projects because it is easy to make and is a fun project to embark on.
Being easy to make as a DIY project is one thing, but without a proper guide, people will still struggle to make this stick chair. Luckily for you, we’ve come up with a comprehensive yet unambiguous guide to making your stick chair. This way, you can start enjoying the comfort and effectiveness it brings.
The foldable chair can be placed on your patio, in your garden, or just outside your home – anywhere you love for relaxation. Without further ado, let’s jump right into what you should know about making the Kentucky stick chair yourself.
Materials You Will Need
- Table saw: you’ll be doing a lot of cutting to size here
- Hand sander: this will help in smoothing the wood
- 54ft of 1½” × 1¼” wood
- 4 pieces of 5/32″ in diameter and 32″ long galvanized steel wire with hardware
- Tape measure
- Hand drill
Steps to Make Kentucky Stick Chair

By following these steps, you’ll be able to make your stick chair in no time with the materials listed above.
Step 1: Select the Right Wood

Wood is the major material needed to make this foldable stick chair and selecting the right type should be of utmost priority. You want to use the chair for a long time without worry. If you use the chair outdoors, you also need to consider that it will go through wear and tear from the sun and possibly light rain.
The type of wood to use is up to you, depending on your needs, budget, and style. Cedar is a popular option for most people as it is easily accessible and can provide some level of durability. You can also decide to use pressure-treated wood to keep damaging insects away and improve its appearance without having to spray.
Step 2: Cutting the Wood to Size

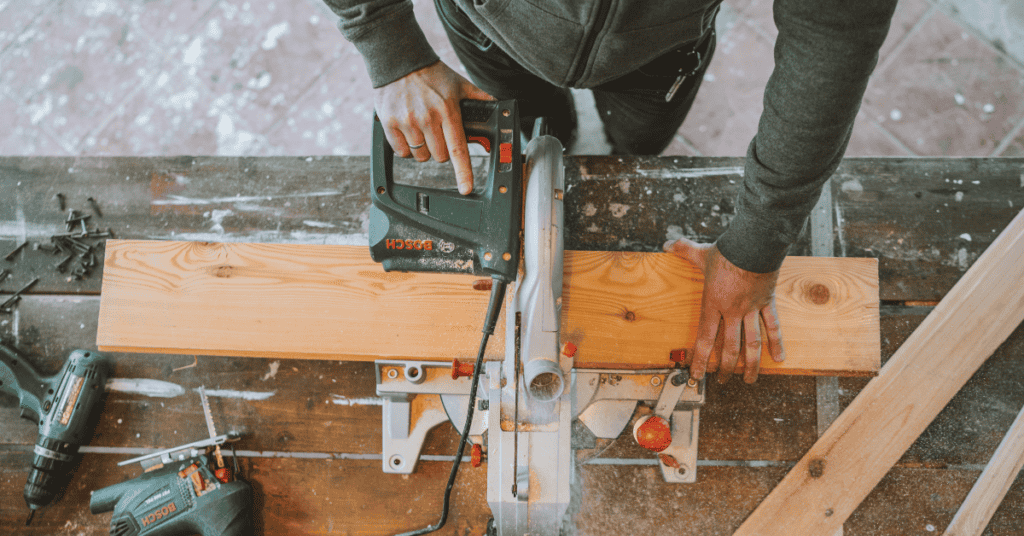
If you have smaller wood pieces, the work gets easier from there but this is usually not the case. People have to deal with large lumber and cut it to the desired sizes. This is where your table and hand saw come into play.
Depending on the size of lumber you have, you’ll need to cut it down to size. Your best bet is to get 2×3s as this is what we’ll be using. If this is not possible, then you’ll have to cut 2×3 using your table saw.
After this, you can then cut the different lengths we need to make this Kentucky stick chair. Here’s the cut list:
- 9 pieces of 9⅛” long wood
- 6 pieces of 15″ long wood
- 4 pieces of 31.5″ long wood
- 2 pieces of 42″ long wood
- 2 pieces of 29¾” long wood
- 2 pieces of 35″ long wood
Step 3: Drill and Sand
After cutting your wood to size, the next step is drilling the holes for your metal wire and sanding to create a smooth surface. You don’t want to injure yourself while using the chair, do you?
Take your tape and measure the point of the drill on each wood piece. This point is different for each of the wood sizes. To make this easier, we’ll be naming the wood sizes.
| 15" | A (for the seat) |
| 35" | B (for the seat) |
| 31.5" | C (for back) |
| 29.75" | D (for back) |
| 42" | E (for back) |
| 9⅛" | F (coupler) |
Now, with these names, we can drill the holes.
- For piece A, drill the first hole 1.5″ from one end and the second hole 12″ from the first hole.
- For piece B, drill the first hole 1.5″ from one end and the second hole 12″ from the first hole.
- For piece C, drill the first hole 1.5″ from one end and the second hole 25″ from the first hole.
- For piece D, drill the first hole from one end and the second hole 25″ from the first hole.
- For piece E, drill the first hole 1.5″ from one end and the second hole 25″ from the first hole.
- For piece F, drill the first hole 1.5″ from one end and the second hole 1.5″ from the other end.
Next is to carefully sand all pieces with your hand sander to smoothen the surface. Focus on sanding the edges to create a rounded edge.
Step 4: Join the Pieces
We have all our pieces ready to be put together using our metal wire and hardware, but before we get too excited, this is probably the most challenging part. You need a little bit of patience and maybe a couple of trials and errors to get this right.
Align the pieces in this manner:
For the seat and couplers:
F+A+F+A+F+B+F+A+F+A+F+B+F+A+F+A+F
Carefully follow this arrangement pattern, ensuring that the holes are properly aligned, and you’ll have an arrangement looking like this:
After alignment, put in the metal wire and fixed the hardware at both ends to hold everything firmly in place. Using a clamp to hold the wood pieces together will help you get the tightest possible fit. Pass another wire through the open end of the A pieces and tightly pull them till they’re touching each other and then hold using hardware.
For the back:
To join the back pieces into the already aligned seat and couplers, you need to follow the careful step again but this time with different pieces. First, fold the seating area a bit so the first when you put piece E into the first column between pieces F and A, it laps. Then insert piece C into the next open column and then piece D. Insert piece C and another C next before you add piece B. Then you can add piece C and finally piece E.
Make sure to align it properly so you can pass your metal wire through them and fasten it with hardware. Also, tightly clamp the end of the pieces and pass with metal wire, then hold with hardware.
You can now fold and unfold your Kentucky stick chair; it is ready for finishing.
Step 5: Finishing
This is especially important if you want a fresh, clean look and also to prevent insect attacks. Finishing can be in the form of spraying the chair. You can also paint it your favorite color.
Also Read: 17 Best Modern DIY Adirondack Chair Plans
Summary
Making a Kentucky stick chair yourself is an exciting activity that produces an effective outcome – a foldable chair you can use anywhere. This DIY process involves metal wires and clamps, so you need to be careful not to injure yourself when tightening the pieces together using your hardware.
In the end, you should have a beautiful and comfortable chair you can open and use anytime while being able to fold and store away when not in use.

