Spring is the season when you see flowers in your garden come to full bloom. Simultaneously, it is also the season when you often see thousands of holes on that wooden bench in your garden landscape. All the soul-filled DIY efforts you put in, can easily get thrashed owing to the destructive carpenter bees.
Wondering what carpenter bees are?
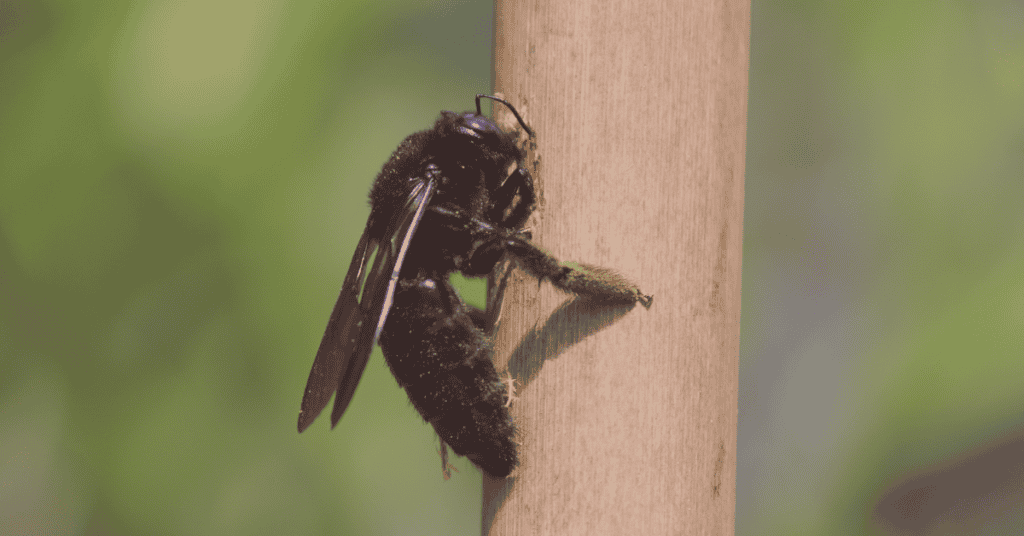
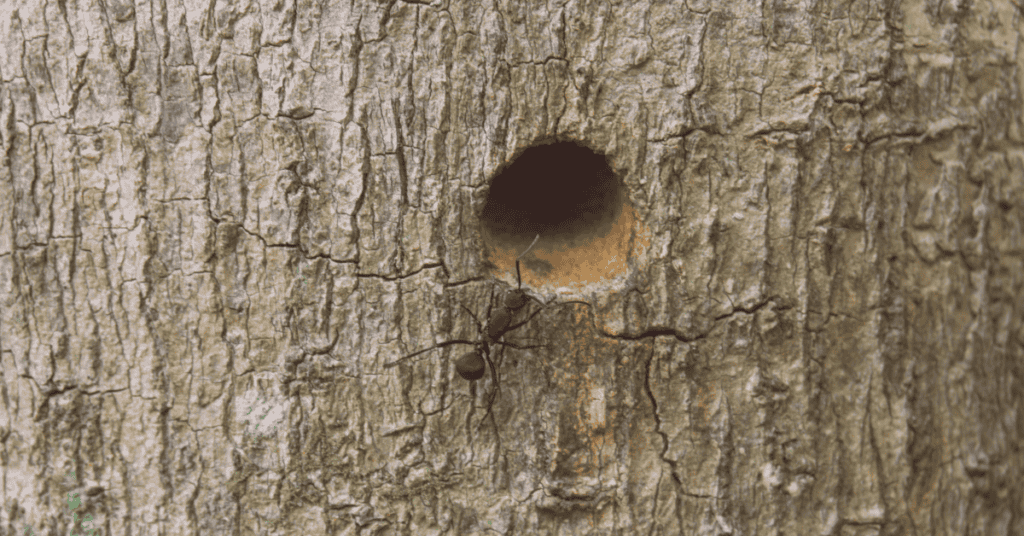
Carpenter bees are destructive creatures that bore holes into wood and form nests in them. Once a female carpenter bee has created her nest in a specific piece of wood, it is for her to come back to it each year to nest.
Carpenter bee manifestation becomes a real problem in spring as the season is when they usually nest. While carpenter bees seldom sting humans, a sting from them can trigger an allergic reaction in some people which can be highly painful.
Bonus Read: Lacking an effective and stress-reducing impact driver? These 5 top-notch cordless impact drivers should save you some trouble.
How to Treat Wood Infested By Carpenter Bee?

Treating tunnel holes with insecticide sprays containing the below-mentioned ingredients – before the tunnels are fully constructed, is the most effective way to control infestation by carpenter bees.
- Bifenthrin
- Cyfluthrin
- Deltamethrin
- Lambda-cyhalothrin
Allow the bees to distribute the insecticide throughout the tunnel before shutting it. Additionally, you also must plug the tunnel hole using any adhesive agent.
If a larger area of wood is under an infestation attack you can spray the entire area with one of the insecticides mentioned in the paragraph above to keep bees from tunneling into the wood. However, the effects of this method only last for around 3-4 weeks, and you will have to repeat the process to ensure that the bees stay away.
Female carpenter bees do not usually tunnel into painted wood. Thus, another solution could be to paint unfinished wood surfaces which are prone to bee infestation. While this might not solve the problem entirely, it is bound to reduce the negative impact of carpenter bees to some extent.
One of the most efficient ways to get rid of carpenter bees is to install a carpenter bee trap at your home. With the help of a few basic instruments and a little work, you can build your very own trap to get rid of these bees. All that you need to do is gather the material, and we are here to teach you the rest!
Bonus Read: Can’t bear those scattered paint marks on your finished and unfinished wooden furniture? This guide teaches you how to remove paint from wood in 4 easy ways.
What Are Carpenter Bee Traps?

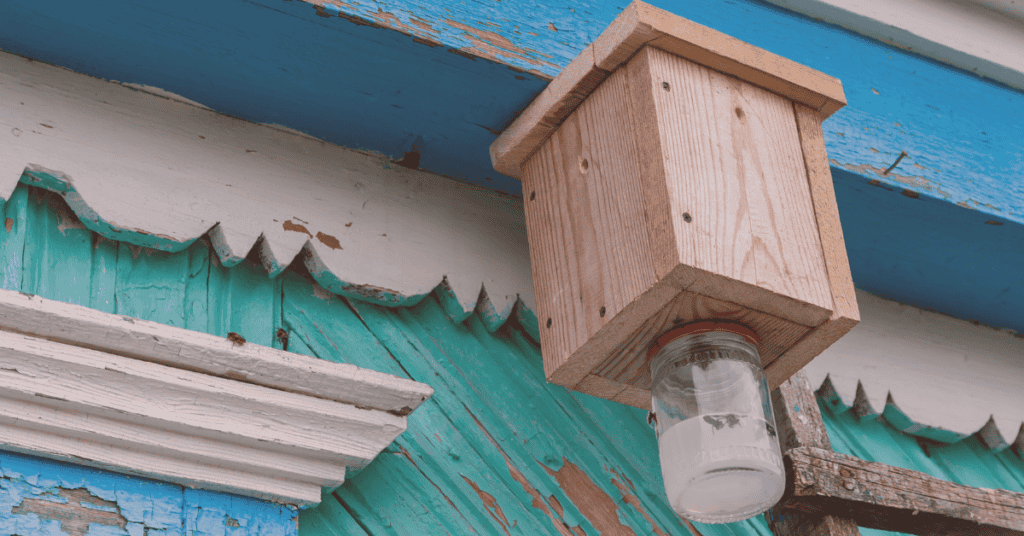
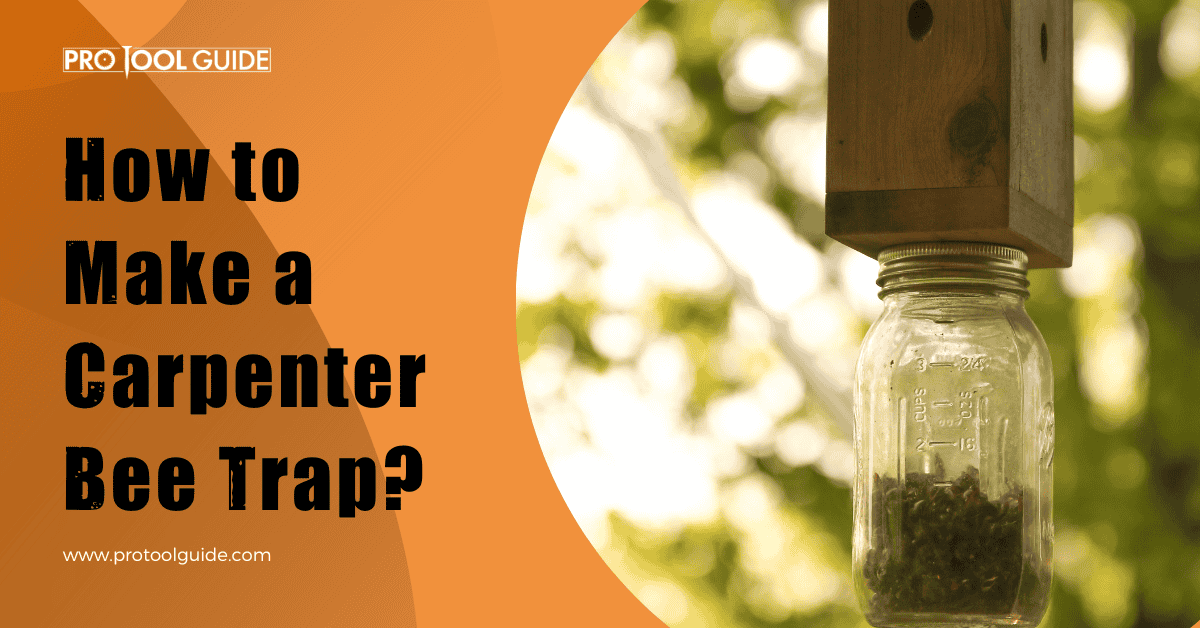
A carpenter bee trap is an instrument made from a wooden box attached to either a glass jar or a plastic bottle. The jar helps in capturing bees in a strategic manner such that they cannot escape from it. Eventually, they will perish in the jar from which they can be cleared out.
This is how a carpenter bee trap works:
- The trap resembles the nest of carpenter bees.
- Bees enter the trap through the strategically drilled holes thinking it would be a safe place to stay in.
- They try escaping through the only source of light they can see coming from the bottom of the wooden box.
- But that hole is connected to a glass/plastic bottle, not allowing the bees to escape.
- Since carpenter bees cannot walk or fly upwards, once they fall in the jar or bottle, they get stuck in it and ultimately perish.
These traps can be cleared out by simply unscrewing the jar from the box and they can be put up again to trap more bees. This is undoubtedly an effective and straightforward way to capture carpenter bees and save your wooden structures.
Making a Carpenter Bee Trap
With a handful of simple steps that we have listed below, you can get your perfect trap. To get started, we need to first collect a few easily available tools and materials.
Things you need:
- Handsaw or a circular saw
- Drill with ½” paddle bit
- Drill with 7/8” paddle bit
- Wood screws
- Screwdriver
- Hammer
- Measuring tape
- Pencil
- Metal chain or a strong wire for hanging the trap
- 4 x 4 Scrap Wood (pine or cedar work well)
- Eye hook screw
Once all these materials are collected, you can start building your carpenter bee trap.
Bonus Read: Woodworking can at times get as complex as architectural design! Read more about the must-have power tools while embarking on woodworking projects.
1. Step-by-Step Approach On How To Make a Carpenter Bee Trap:
Step 1 – Cutting the wood
- Take the 4 x 4 scrap wood and your measuring tape.
- Measure the length of the wood up to 7” and mark the distance using your pencil.
- Cut across the wood horizontally where the pencil mark was made. Be careful when using the saw.
- The length of your trap can range anywhere between 5” to 7”. Anything bigger or smaller will not work quite well.
- Try wearing eye goggles when you are cutting the wood, as sawdust can lead to eye infections and unbearable irritation. Goggles will help to prevent sawdust from entering your eyes.
Step 2 – Measure and cut a diagonal angle at the top of the wood
- Use your measuring tape to measure a length of 4” on side of your wooden post, while the opposite side remains at 7”. Mark the measurement using your pencil.
- You will get a line at about a 45-degree angle.
- Cut across the line to get a sloping top for the trap.
- You could even cover the top hole with a plain wooden plank to prevent the bees from escaping.
Step 3 – Drilling the base hole
- Place the wood post such that the angled top is facing the ground and the flat surface is facing you.
- Take the 7/8” paddle bit drill and position it directly in the center of the post.
- Start drilling straight down and drill a hole of about 4 inches. Do not go all the way through the wooden post, and make sure to stop around midway.
Step 4 – Drilling entry holes for the bees

- Using a measuring tape, measure a distance of 2 inches from the bottom of the post and about ¾ inches from each side. Mark the point using a pencil.
- Now, using your ½” paddle bit drill, drill a hole at a 45-degree angle where you marked your point. Keep on drilling till the new hole meets the hole you drilled from the bottom.
- Repeat the same procedure for the other three sides.
- Clear the sawdust from the holes you drilled.
That is how the hole should look.
Step 5 – Marking the lid of your mason jar
- Take the metal lid of your mason jar and measure the diameter using your measuring scale.
- Mark the center of the lid using a pencil or a sharpie.
- Measure the distance between the center of the lid and the rim. Mark the halfway point of this distance.
- You will have three aligned marks on the lid of your jar.
- Punch through the holes using a metal punch until the surface breaks forming a small hole.
The holes you make will look like this.
Step 6 – Widening the middle hole
- Using the ½” metal drill, widen the hole in the middle of the lid.
- Keep on drilling till the width of the middle hole matches the one on the bottom of your wooden post.
- Be sure to work on something you do not intend on keeping, as drilling through the lid can spoil what is under it.
Step 7 – Installing the mason jar in the trap
- Stick back the lid inside the tin cap of your mason jar.
- Align the center hole of the jar with the bottom hole of the wooden trap.
- Take two wood screws and a screwdriver.
- Carefully screw the two holes you punched on each side of the center into the wooden post.
- Make sure the lid is positioned firmly before you go on to attach the glass jar.
The attached lid will look something like this.
Step 8 – Making a small hole on top to hang the trap
- Place your drill in the center of the flat surface of your trap.
- Drill a small hole into it.
- Make sure to make the hole relatively short so that it does not reach the main tunnel drilled for the bees to go through.
- The length of this hole majorly depends on the length of the eye hook screw you are using. Also, the length should be the same as that of the screw.
Step 9 – Fixing an eye screw into the hole to hang the trap
- Set the eye screw end in the hole you drilled on the angular side and twist it clockwise till it seems fixed into the hole.
- Attach the metal chain or the wire to the eye screw to hang your trap.
- For best results, if you are not planning to hang your trap, place it vertically on a high surface to which bees are usually attracted.
Step 10- Put back the mason jar in the lid
Put back the mason jar in the lid and ensure to close the jar tightly enough for it to not fall.
Now your carpenter bee trap is complete!
Bonus Tips For the Perfect Carpenter Bee Trap
These tips will quicken your quest on how to make a carpenter bee trap. At the same time, they will guarantee a foolproof solution.
- Use pine or cedarwood for best results and try avoiding untreated and pressure-treated lumber.
- You can even use a wooden plank on top instead of cutting it into an angular shape. However, when trying to add an eye screw in this process, do not drill a hole through the top of the trap.
- Keep clearing the holes and the jar to achieve maximum efficiency from your trap.
- Carpenter bees will not tunnel into painted wood, so be sure that the wood you use is unpainted.
Try hanging the trap on the corners of our house/porch, or wherever else the bee infestation is higher.
FAQ’s
Ans. It’s not necessary to clean them out, and they should work well without cleaning too. However, if it doesn’t work for you for a few days after you have installed the trap you can try cleaning the inner holes using something that would easily reach the clogged area.
You can even try using the ½” drill to clean out space.
Ans. Carpenter bees can’t fly up. This makes it tough for them to escape through the holes in the wooden post after they have entered the glass jar.
Moreover, the bees are attracted to light, and their only source of light is through the glass jar at the bottom. And this is where they automatically enter the jar.
Another reason the bees cannot escape is because of the way the holes are drilled. The holes are strategically drilled from a 45-degree angle and that prevents the bees from escaping. You can fill some water in the jar to prevent the bees from even attempting to escape.
Ans. While this does not usually happen, if you’re facing such an issue you should start by changing the position of your trap. Also, place it in an area that usually attracts more carpenter bees.
If that does not work either, you can leave a dead bee inside the glass jar. The scent attracts other bees to the trap and leads them to enter the strategically cut tunnels.
Ans. The top is cut at a 45-degree angle for two reasons. Firstly, the slope makes it easy for water to shed off the trap when it rains. Secondly, the slope ensures that the holes are made correctly. You can keep the surface flat too.
What’s more important than the angle is the height of the 4 x 4 wooden post. You can make the post a little taller than you would with the angular top. This assists in accommodating all the holes on each side, that too with the right distance and measurements.
Conclusion
It is pretty simple to build a carpenter bee trap and does not require any extraordinary raw materials. With a little time, patience, and hard work you can easily build your privatized trap and save your beautiful wooden ornaments from these destructive/ insects.
Bonus Read: Eliminating mold from wood has been an affair that not many resolve easily. This guide changes the scenario – check it out here.

