You have a makeshift storage, but everything seems to be spilling out of it. Your garden equipment, your kids’ bikes are all cluttered. So what is the solution to neatly stack them all?
You need a shed. Everyone needs a shed. The shed could be lean-to-build, a shed with a porch or a studio shed, there are a lot of shed ideas you can opt for.
And it is not difficult to build a shed. If you are someone who likes to DIY, then shed building should be a cakewalk for you. Even if you have never built anything before, shed building is not at all complicated.
So, where do you start? You start with the shed foundation. Like any other construction project, your shed needs a proper base to stand sturdy and robust.
You may choose to build the shed yourself or get a pre-built shed for your yard. Regardless of what you choose, you need a strong shed floor which is the place where your shed will stand.
This article is all about how to build a shed floor which is the base of your shed.
Why Does My Shed Need a Floor?
You need to be clear on this, so let us solve all doubts that you may have about building a shed floor.
Your shed can sit on the ground. But what if it rains? This is a no-brainer. The shed will go damp, the stuff kept in the shed will rot, and thus the primary purpose of having a shed will be completely dissolved.
The ground that you construct the shed on may not be flat. Uneven ground will cause the door to stick out and affect your shed’s stability.
A floor, however, will lift the shed up from the ground. It will offer a level and stable base and, in turn, increase the life of your shed and keep the stuff inside safe.
So now that we are on the same page on building a shed floor, let us quickly run through the tips and then start with our DIY construction.
Tips to Build a Strong Shed Floor
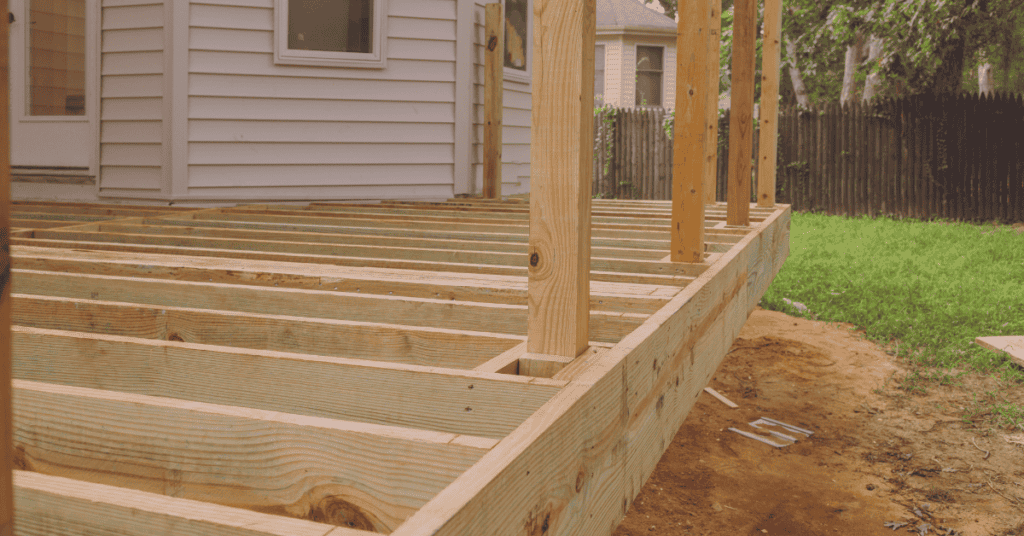
Sheds without a strong foundation will expose the floors to moisture, in turn making it unlevel, causing mildew and mold issues. In short, the structural integrity of the shed is in danger without a proper shed floor.
But just installing any shed floor without proper consideration will not serve the purpose either. Here are a few tips, and working your way around them is what will let you build a strong shed floor for your shed to last a lifetime.
- Verify the zoning laws in your area, shed size restrictions, and the materials you can use.
- Choose the location to construct the shed floor on.
- Choose from an on-grad or frost-proof floor.
- On-grade foundations sit on the ground directly and so are quick to construct. These are made of concrete or lumber and do not need any hole-digging or concrete pouring. They are also cheap but support small and medium-sized sheds only.
- Frost-proof shed floors are permanent and can support more weight than the on-ground floors. These, however cost more. The construction needs digging to pour the concrete, which in turn does not let the structure shift because of seasonal changes.
- The floor should be built considering the material that you will use to make the shed and the items that you plan to store in it.
- Do not cut on the quality of materials to build your shed floor with.
- The shed floor should be leveled. A level string guides you through the shed floor construction.
We are thus ready to give a head start to the project. Let us now move to a step-by-step shed floor construction guide.
How to Build a Shed Floor – Your DIY Guide
You do not need any prior woodworking skills to get started with shed floor building. It is simple and does not demand a lot of materials or expertise. Read this guide where we have curated all the information that you will need to construct a solid wooden shed floor that is sure to last through the entire lifespan of your shed.
Step 1: Source the Materials and Tools
Materials and tools
- Pressure-treated plywood ¾ inches
- Pressure-treated lumber 2*6
- Fastener
- Wood screws
- Joist hangers
- Nail gun
- Chalk line
- Tape measure
- Level
- Palm nailer
- Circular saw
- Speed square
Step 2: Place the Deck Block
Deck blocks should work great to place your shed on. If you wish to build a medium or small-sized shed, then deck blocks are a feasible option recommended over a concrete slab foundation. These are cheaper and user-friendly to build, which is a respite to the first-time shed floor builders.
All that you need to do is to place the deck blocks ensuring that the ground around it is level. The block should be at an equal distance, placed at least 4 to 6 feet apart. This will ensure stability in the shed both towards the middle and on the end.
Step 3: Level the Area
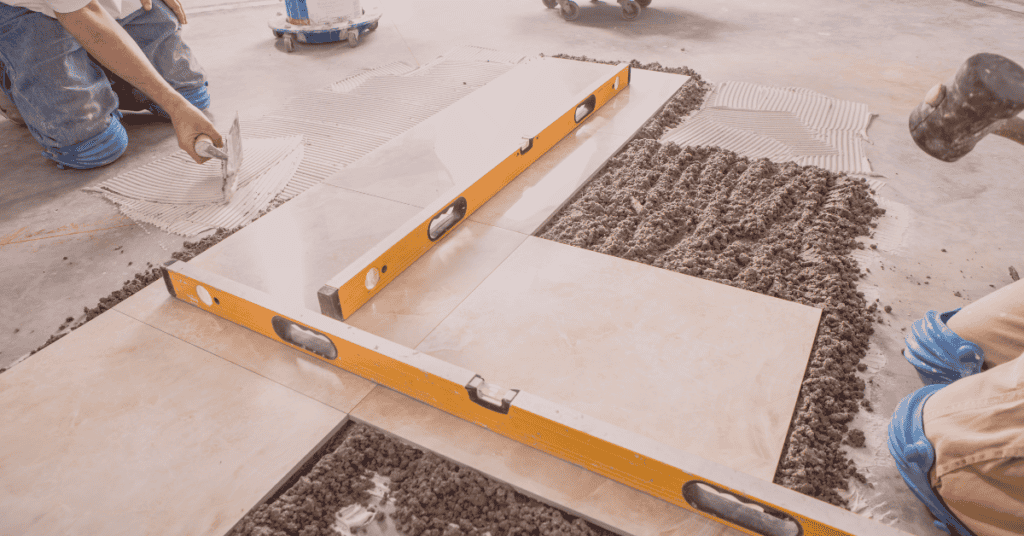
Take the 2*6 and then lay them on the grooves that are formed between the deck blocks. Tamping on the ground helps level the floor frame. You will not need to nail anything now. Just mock the frame so that the blocks are on a perfect line.
Step 4: Build the Frame
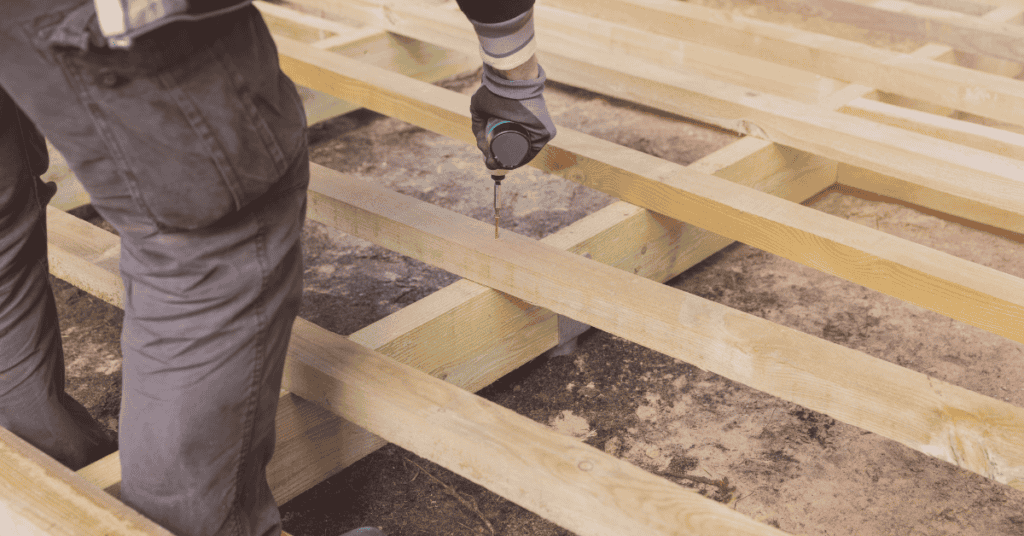
You need an outer frame to begin with. Here you could choose to build it with 24 lumber, but for additional stability, 26 lumber is a better option, especially if you plan on storing heavy items in your shed. Again you are free to tweak the measurements to suit the shed dimensions.
The measurements should be perfect else, and you may have to buy a fresh lumber sheet and redo the task again. Measure at least twice to avoid costly mistakes.
Take measurements on all four sides and then cut the lumber. A speed square helps mark the cut. It guides the circular saw. A miter saw helps too. After you cut the lumber, seal all the grain cuts with a wood preservative.
Now that you have the cuts, nail the frames together. You will need three nails to join the board, one each on the bottom, middle and top. Once this step is complete, the four planks will form a box.
Step 5: The Floor Frame Should be a Perfect Square
The frame that you have built should exactly be a square. Often this is an overlooked step. So keep note of this during your construction.
The method is straightforward. Take a tape measure and diagonally gauge the length of the floor from one to the other corner. The diagonals should measure equal. If not, you will need to adjust the piece to form an exact square.
You need an exact square frame. Usually, the diagonals are apart by just a quarter inch. You are working with lumber here, so don’t be scared to get a bit aggressive. Repeat the process again and again until you have an exact square floor.
Step 6: Time to Attach the Joists
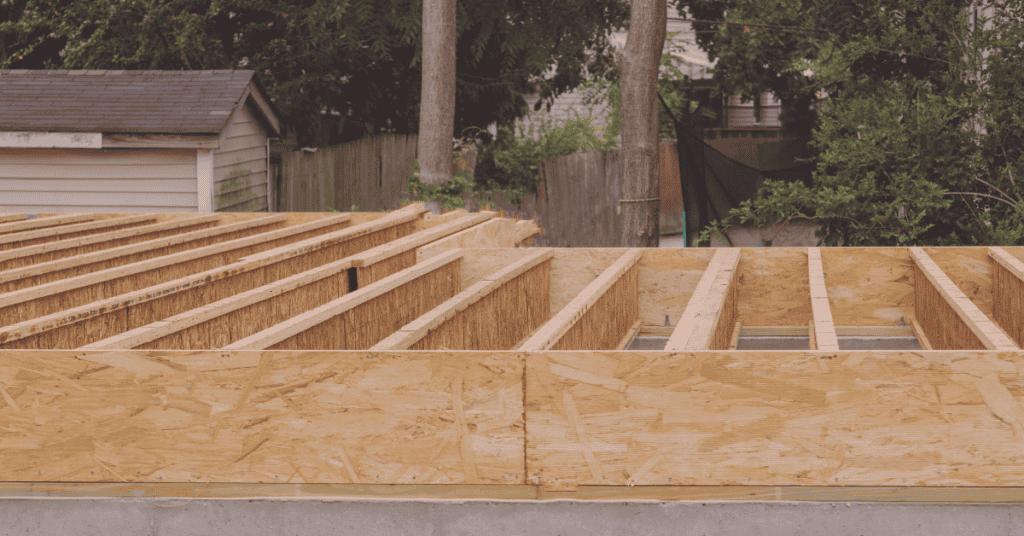
- The best would be to start from the middle, where you can place the first joist.
- A square frame gives you the flexibility to cut every joist in the same length.
- Measure the joists and use the speed square and the circular saw to cut. The joists are all cut
- Now move the frame up and place the joists in the frame.
- The joist should be at least 12 to 16 inches on the center. This depends on how strong you want your shed floor to be. It does save you money in the longer run.
- Measure the 12 or 16-inch increment along the length of the frame, ensuring that the measurements are the same on both sides.
- Mark the center of the joist where it should sit on the wooden frame. This makes it easy to hang the joist to the frame.
- The joists should sit flush with the top frame.
- Drop the joists in the hanger and tap it with a hammer.
- Use nails to attach the joists and the hanger.
- Angle the nails so that these pass through the joist and the frame.
- If your shed is large, then you may need a support beam in the middle running in the opposite direction to the hanging joists.
- The joists are now hung.
- Cut and then insert the 1*6 blocks with the nails at a distance of four to eight-foot. This keeps the joists from twisting. It also supports the flooring.
You now have a solid shed floor ready.
Step 7: Laying the Plywood- The Final Step
Make the plywood cut and lay it on the frame, checking to ensure that it is placed right. Then start screwing. It is better if the plywood frame is also cut in squares. If the shed is large, then offsetting the plywood seams increases the stability of the floor.
Lay the plywood and snap a line to identify where the joists are. It will make it easy to screw the plywood taking care to not miss the joist center.
You may Use Wooden Screws Here.
- They make the floor secure and do not back out from the wooden surface.
- Wooden screws do not create bumps on the floor.
Ideally, the screw should be placed 8 inches apart to give a uniform look and a stable performance.
If two plywood pieces overlap and push against each other, then put two screws on each piece to prevent lifting.
Your shed floor is ready. You can stain and treat the floor or leave it as it is.
Go ahead and construct a DIY shed or install a ready-made one on it.
Things to keep in Mind
- Most sheds do not need a deep footing to rest on. If the soil in the area is well-drained, then a pair of gravel-filled trench topped with treated 66s should suffice. Just level the 66s and square it, and it is ready to attach to the joists.
- If the site is sloped, then the flooring should be built on a post.
- Usually, people choose to build the shed floor with concrete or wood depending on the area and the usage of the shed.
- Measure the squares accurately. If you get sloppy with this step, then it will haunt you through the entire shed construction. The windows, door, roofing, and trims will all be misaligned if the floor is not a perfect square.
Conclusion
Building a shed floor is no rocket science. Rather it is pretty straightforward if you understand the process well and be patient to follow the steps methodically. Proper measurement is the key. Leave it to chance, and your entire DIY project will get jeopardized.
The ultimate goal is to build a shed that lasts for years to come. A well-built shed floor has its perks making it hassle-free to install or construct a shed on it.

