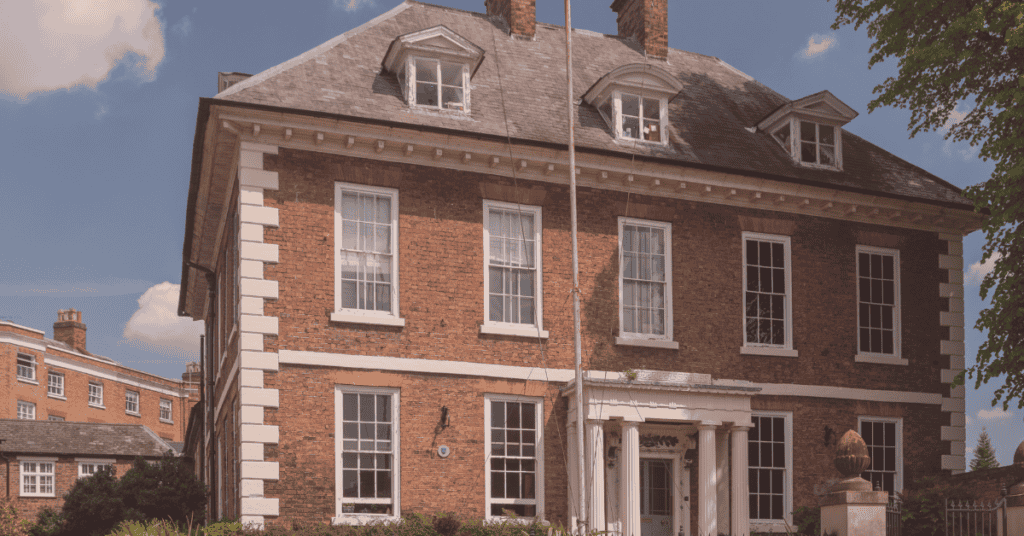
The Three Little Pigs learned it the hard way, but we all know the benefits of a brick house. These are sturdy, resistant to floods, storms, and fire. Brick houses have a high thermal efficiency. They store heat and radiate it to the rooms making your winter nights warm and pleasant, letting you save on your electricity bills. Brick improves sound insulation and is resistant to earthquakes too.
There is no denying the fact that bricks are the best construction material for your home. But can you DIY a brick house? Let us find out about how to build a brick house.
Building the Brick House

Let us be straightforward, building a brick house is not easy. There is a lot of work involved, which may be out of the caliber of an individual. You can however take help to give this DIY project the exact shape that you have dreamt about.
Here is all that you will need to start building the DIY brick house:
1. Materials
- Wooden board
- Grave and fine sand
- Premixed cement and concrete
- Screws and nails
- Reinforcing bars
2. Tools
- Hammer and circular saw for building the formwork
- Float to finish the concrete
- Concrete mixing to mix the concrete
- Safety gloves and glasses
- Spirit level, carpentry pencil, and i-square
3. The Brick House Foundation

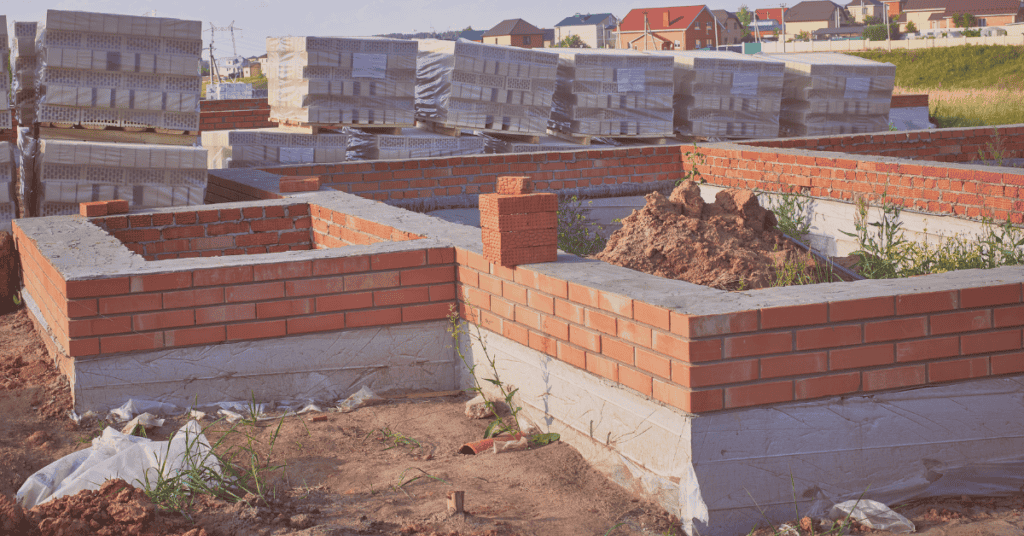
To lay the brick house foundation, start digging the trenches. This is where you will lay your concrete foundation. You will need a sturdy foundation, so you will have to install deep trenches and rigid structures. Get in touch with an expert if you are unsure of the right depth of the footing you will need.
You need to build a wooden frame for the foundation. Use the wooden board to create the frame and secure it. Only then pour the concrete foundation in it. The cost should be kept to a minimum. Once done, leave the foundation for weeks for it to dry.
4. Building the Brick Wall
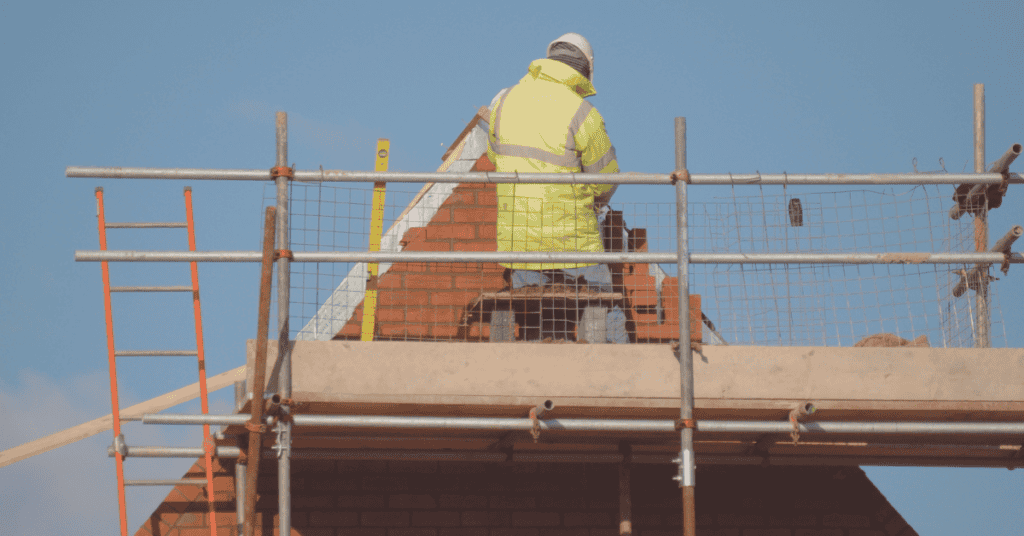
Before you start building a brick house, you need to be well versant with the process of bricklaying. The construction skill seems easy, but bricklaying is an important step not to be taken lightly. Even a confident DIYer needs to be clear on the basics before he starts with the process.
The standard brick types are 215mm x 102.5mm x 65mm. To calculate the number of bricks that you will need, you also need to take into account the 10mm mortar bed. So the ideal calculation should be 225mm x 102.5mm x 75mm. There will be wastage and cuts, so take that into account too.
Use a string to guide you to make sure that you lay the bricks straight. After you lay the bricks, raise the string. Leave some space between the bricks and then secure the mixed mortar. There should be ample space left for the window and door openings.
To lay the brick wall, you will need:
- Old board
- Brick trowel
- Tape measure
- String or brick line
- Spirit level
- Club hammer
- Shovel
- Stiff brush
- Bolster
Below are the steps to lay the brick wall:
- Start to lay the brick walls from the corners. Lay the bricks on both the ends of the walls, which are the place from where the pillars start. This step should be carried out after you prepare the necessary foundation. Using the string line, make a straight path to guide you. This should be done at the height of the brick and between two outside bricks.
- In the next step, you will have to mix the mortar. Heap five shovels of sand and one shovel of cement on the old board. Turn the shovel so that the color is consistent. Form a hole in the center and pour water in it and mix it. Repeat this step to get a creamy and smooth texture. The mixture should be wet but should not be loose.
- Now lay the first layer of the bedding mortar. This should be 1 to 2 cm and laid along the string line. Start from one of the ends and lay the first brick. Tap it slightly so that it beds in. Then apply the mixture at one end of the next brick and place it on the first. Repeat this process using the string as your guide.
- You then need to start creating the brick pillars. The place from where you wish to start the pillars, place a brick at the end of the wall. Start building the walls by placing each course of the pillar brick in the opposite direction
- When you build the pillars, there are courses where you may have to lay half bricks. This is where you will have to cut the brick. To cut the brick. Place it on the side and locate the bolster where the split point is. Then strike the head using a club hammer. It should easily slit clean in the first attempt.
- The pillar should be one course ahead of the remaining wall. Move the string line as you keep building bedding it in the mortar on the pillar. To create a stretched bond, the end of every brick should be on the center of the brick beneath it.
- The vertical and the horizontal mortar joints should be 10mm in thickness. The bricks should have 75mm on the top and beneath it. If your bricks soak moisture fast, then you want to join them up.
- Adding a coping stone is a great idea when you reach the top of the pillar. Bedding bricks on the sides into the mortar is also a good idea as it is also cheaper.
- You may want to add a soldier course to make the brick wall decorative. Turn the bricks lengthways and lay them in full length. To get a uniform finish, use a second string and place it higher.
5. Finishing the Mortar Beds
Use rounded edges of the brick jointer to scarp any mortar that is spilling from the joints. Start first with the horizontal lines and then follow them vertically. It is easy to remove the mortar in this way.
The final step is to clean the things up. Give a gentle brush to the finished wall and clean up the mortar fallen on the floor before it dries up. Water can be used to wash the cement that has dropped on the floor but make sure to keep it away from the brick wall.
6. Finishing the Brick House

Your brick house is built. You now need to install the water pipes and electric cables. Create grooves in the brick wall to fit in the electric cables. Cover the grooves with cement and then secure the pipes in them. Always mark the location of the electric cables and pipes in a piece of paper to avoid any accidents when driving the screw into the wall.
Installing an insulating layer of polystyrene sheet helps to improve the thermal insulation of your home. This step may not be necessary if you use a high-quality brick. Once the house is ready, go ahead and apply texture paint. If you follow the right techniques, then your exteriors will last for many years to come.
Things to Keep in Mind
Follow the below pointers for an efficient project:
- Store the bricks away from rain and other elements. There should be enough shelter, and the brick should be kept elevated from the floor level, which will save the brick from getting damp.
- There are many varieties of mortar available, but you should select one that is suitable for full and facing bricks. There are colored pigments as well if you need an alternative to white and grey.
- Make a sample wall first to understand the joint thickness, level, and the number of bricks that you will need for the design.
- Check the brick and mortar color, especially when you are constructing a large-scale project like a brick house. Sample it first to be sure that the selection will create what you have envisioned.
- If the area you stay in is damp, provide an adequate amount of a damp-proof course.
- Select the brick from different pallets, which will ensure that the brick is mixed through the brick wall evenly.
- It is important to wet the brick before laying them. The bricks used in buildings are naturally porous, and wet bricks are also stronger than dry ones. Wetting bricks adequately will avoid the mortar from burning.
- Ventilation is crucial to allow the flow of air between the bricks that are facing and so the load-bearing walls to not obstruct it will mortar. This is why you should have ventilation holes at the top and the base of the brickwork.
- Brick layering should be suspended in the building phase to protect the new bricks from cold and rain.
- After the end of the work and after curing the binder, wash the drywall using an acid solution. Do not use any waterproofing solution.
Conclusion
Understand the process well before you start with the brick house DIY building project. Make sure that the walls are plumb well. A tape measure should be used for accurate measurements. Use the right concrete mix and high-quality materials else the brick house may crack over time.
Break the process down into various stages to make it easy for you and also so that you stick to your schedule. Brick house building is not overwhelming if you work with care and proper judgment.

