As an ardent DIY enthusiast, you know how essential it is to have an efficient storage compartment to house all your tools and supplies. Garden equipment, workshop tools, and general materials like kids’ toys typically require a separate storage area, not in the main building.
For an average DIYer, a 10×14 shed is the right size to carry all your equipment while remaining compact. You need to get the correct shed size, as building a small store will mean some of your tools will be left outside; likewise, making a vast shed will take up too much space and resources with little value.
If you have an average storage need, the 10×14 shed will serve without issues. Building this storage space can be challenging depending on your design and style, which is why a 10×14 shed plan list is a valuable asset. Follow this guide as we highlight several plans to build your shed.
Materials And Tools Required
If you’re wondering about the supplies you need to build a 10×14 shed, here is a complete list of materials and tools. Remember, materials will differ slightly depending on your shed design and style.
Foundation
- Pliers or concrete footing
- Quality 4×4 or 6×6 posts and 2×6 or 2×8 boards, all for framing the foundation
Floor
- Pressure-treated plywood or OSB
- 4×4 or 6×6 posts and 2×6 or 2×8 boards for shed the floor
Walls
- 2×4 boards for the studs
- 2×4 or 2×6 pressure-treated lumber for the bottom plate
- Insulation material (optional)
- Siding material
- Exterior grade plywood for sheathing the walls
Roof
- Pressure-treated 2×4 or 2×6 boards for the rafters
- Roofing sheets
- Roofing felt
- OSB or plywood for roof decking
- Flashing
- Drip edge
Doors And windows
- Quality exterior-grade doors
- Windows, framing materials, and trim
Others
- Framing nails or screws
- Roofing nails or screws
- Hinges, handles, and other door and window hardware
- L-brackets
- Assembling tools like hammer, saw, level, drill, and screwdriver, among other tools
- Paint or stain
- Electrical wiring and fixtures
- Ventilation systems (optional)
10×14 Shed Plans
Sheds are extensive projects requiring much effort and planning, usually involving the shed’s style and design. This guide makes your building process more straightforward by providing shed plan ideas you can utilize.
1. 10×14 Gable Shed

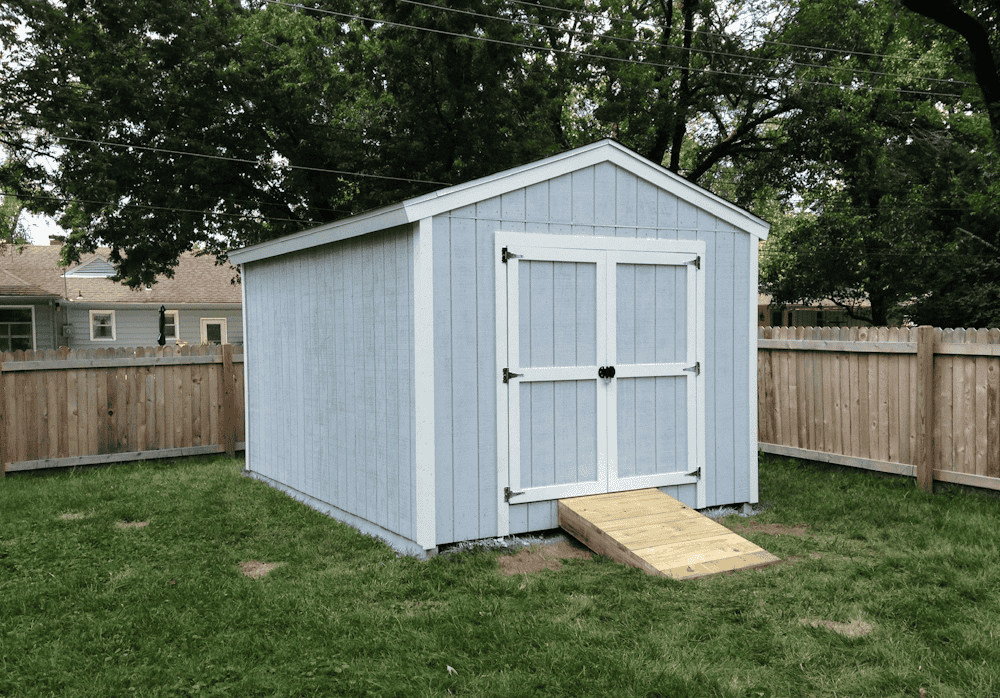
Gable roofs have a flat end in the roof area not composed of roofing material and are common in colder climates. This 10×14 shed features two gable ends, a large double door, a single door to the side, and a window framed. These access points will also provide ventilation when working in the shed, with its compact nature enabling it to fit into your backyard.
The free DIY guide features 3D diagrams with complete dimensions and a full cut and shopping list. Access to the plan is simplified as it is print-friendly and PDF downloadable for people who want personal copies as they pursue the project.
The guide recommends using weather-resistant pine or cedar lumber. The framing lumber throughout the shed comprises 2x4s, with 4×4 and 2×6 among the other frequently used lumbers for this storage center. Start with building the floor frame in a chosen location as you progress to the roof. It will take about a week to complete this shed alone.
2. Shed Using Free Materials

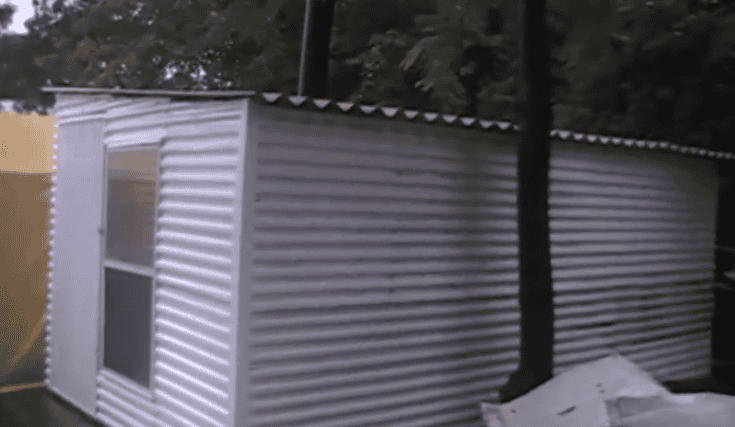
You can complete a shed using free materials from around you to save costs and the environment. This idea uses simple materials from the lumber mainly obtained from the previously dismantled shed. While selecting the materials, ensure they’re durable and free from defects that may affect the shed’s integrity.
The floor frame is made from durable lumber and covered with plywood. In contrast, the interior walls are covered with OSB, and the exterior walls with plastic covering to protect against moisture and harsh weather.
Heating equipment is added to the shed using an old wood stove, and the smoke is directed outside through the roof using a steel pipe. This fixture is vital in cold climates and would allow you to work despite the outside temperature. It features a door and a door-size window beside it.
3. Basic 10×14 Shed Design With Great Access

Basic designs can be great for sheds, especially for less experienced builders. It is easy to build and takes a considerably short time to complete. It features to build a large garage door and a single door giving access to different shed parts.
The plan consists of a three-part series including shed, roof, and doors and window plans. Separating the sections enables this guide to provide more details for each process. Start the construction using 4×4 lumber to make skids, frame with 2×4, and ¾” plywood to cover the structure.
It is a gable roof with about 300 sq ft of asphalt shingles. Build fitting rafters using 2x4s and ½” plywood for the gussets, ensuring durable wood with a pleasing design. The idea includes overhangs on either end of the gable roof section constructed using 2×4 blockings.
4. 10×14 Gambrel Roof Shed

Gambrel roof sheds will attract admiring glances as it’s a unique roofing style with enough room under the roof. With Gambrel roofing, you can add a loft in your shed for extra space. This 10×14 shed is fitted with a gambrel roof, requiring more roofing materials due to its size.
It shows a detailed cut list with all the lumber sizes for each project section, a shopping list of materials to buy, and tools required. One week is the ideal timeframe for this project which may take a shorter period if you have an extra helping hand.
The plan follows the process of other basic designs with a large garage door in front, a single door, and a window by the side. It takes a different approach when building its Gambrel roof, which you’ll find in the second part of this plan discussing roofing.
5. 10×14 Shed Using OSB Sheets

The shed is built on a concrete floor extending over the door areas and is the most cost-consuming section. If you’re on a budget, you may opt for other floor plans; however, the concrete slab provides stability and allows you to keep heavy equipment in the shed.
It uses OSB sheets as an interior and exterior surface, with the OSB fitted under the roof as insulation. Drill ½” bolts into the bottom frames, securing them to the concrete slab before erecting the walls. Add 1″ conduit pipes to house the electrical wirings and keep the interior clear.
The idea is to build the wall frames on the ground and lift and secure them to the lumbers on the concrete. The video guide follows a single person building the shed, showing you how to stand heavy walls with extra help.
6. Arrow 10×14 Shed

Another concrete floor shed with a unique roofing style. The shed uses less framing lumber and is lined with plywood to form the walls. The 2×2 lumbers are attached vertically on either side of the siding to create an aesthetically pleasing design while adding support. The pattern also matches the roofing material used for the project.
All materials are cut to the exact sizes and painted beforehand for ease, which means it is ready for use after assembling the boards. The roofing style makes the shed look more extensive and accommodating; however, the lack of proper insulation may pose a challenge in hot climates.
The DIY guide follows a construction process completed in 2 ½ days and with a fast time recording to reduce the size of the video. This project uses a sliding double door to conserve space while allowing unhindered access to most parts of the shed.
7. Detailed DIY 10×14 Shed With Impressive Finish

The impressive finish of this 10×14 shed lies in the quality of the materials used with modern OSB roofing materials, plywood, and cedar shakes, all combining to produce an attractive shed design. Start the project by installing heavy posts along the base for stability and to raise the floor off the ground, which is vital in places that experience flooding.
The siding uses 4×8 sheets of plywood and vertically layering 1×3 lumber strips over it to mimic the board and batten design. Each wall is built in the ground and then raised with braces supporting them before the final assembly with other sides.
While plywood covers the walls, OSB roofing sheets with a similar style as the board and batten design cover the roof. However, before the OSB roof is installed, plywood is layered over the frame to act as insulation and provide extra support to the top.
FAQ’s
Check out some frequently asked questions about building DIY 10×14 storage shed plans and their straightforward answers.
Ans: Shelving is an excellent way to maximize your 10×14 shed space, and you can do it by installing floating or freestanding shelves. Other ways to maximize the limited space include adding a loft and utilizing overhead storage units.
Ans: 10×14 has proven to be economical since most materials like plywood and roofing sheets will require little to no cutting to fit. The size is also the perfect blend of compact and efficient as it can fit into your small garden space while providing enough storage space for the average DIYer.
• Stick to proper lifting techniques when raising heavy shed parts to avoid back injuries
• Wear safety goggles, boots, earmuffs, and gloves while working with the tools and building this shed.
Conclusion
You’ll need to build the perfect storage shed size to get an efficient solution. A 10×14 shed is a blend of a compact and efficient space. This guide provides ideas with detailed plans to show you how to build this extensive project even if you have yet to gain experience.
